Mmm… when I saw this recipe at allears.net, I knew I had to try it out! What could be better than a chocolate pretzel, and how was that even possible? Well, the name might be a little misleading. It’s not a chocolate-flavored pretzel, bready and gooey as I imagined. This is actually a spin on a pretzel, utilizing a chocolate shortbread cookie type recipe with puff pastry. The look is completely unique. It’s a really fun treat that’s super easy to create!
Whenever I am preparing to bake, I always take out the cold ingredients and let them get to room temperature. So I had the butter, pastry puff, and eggs out for about 20 minutes prior to starting the recipe. When the butter is soft, cream it in a mixer with the powdered sugar and salt. Add the vanilla and mix for about 30 second to one minute more. The mixture will be a pale yellow and very creamy.
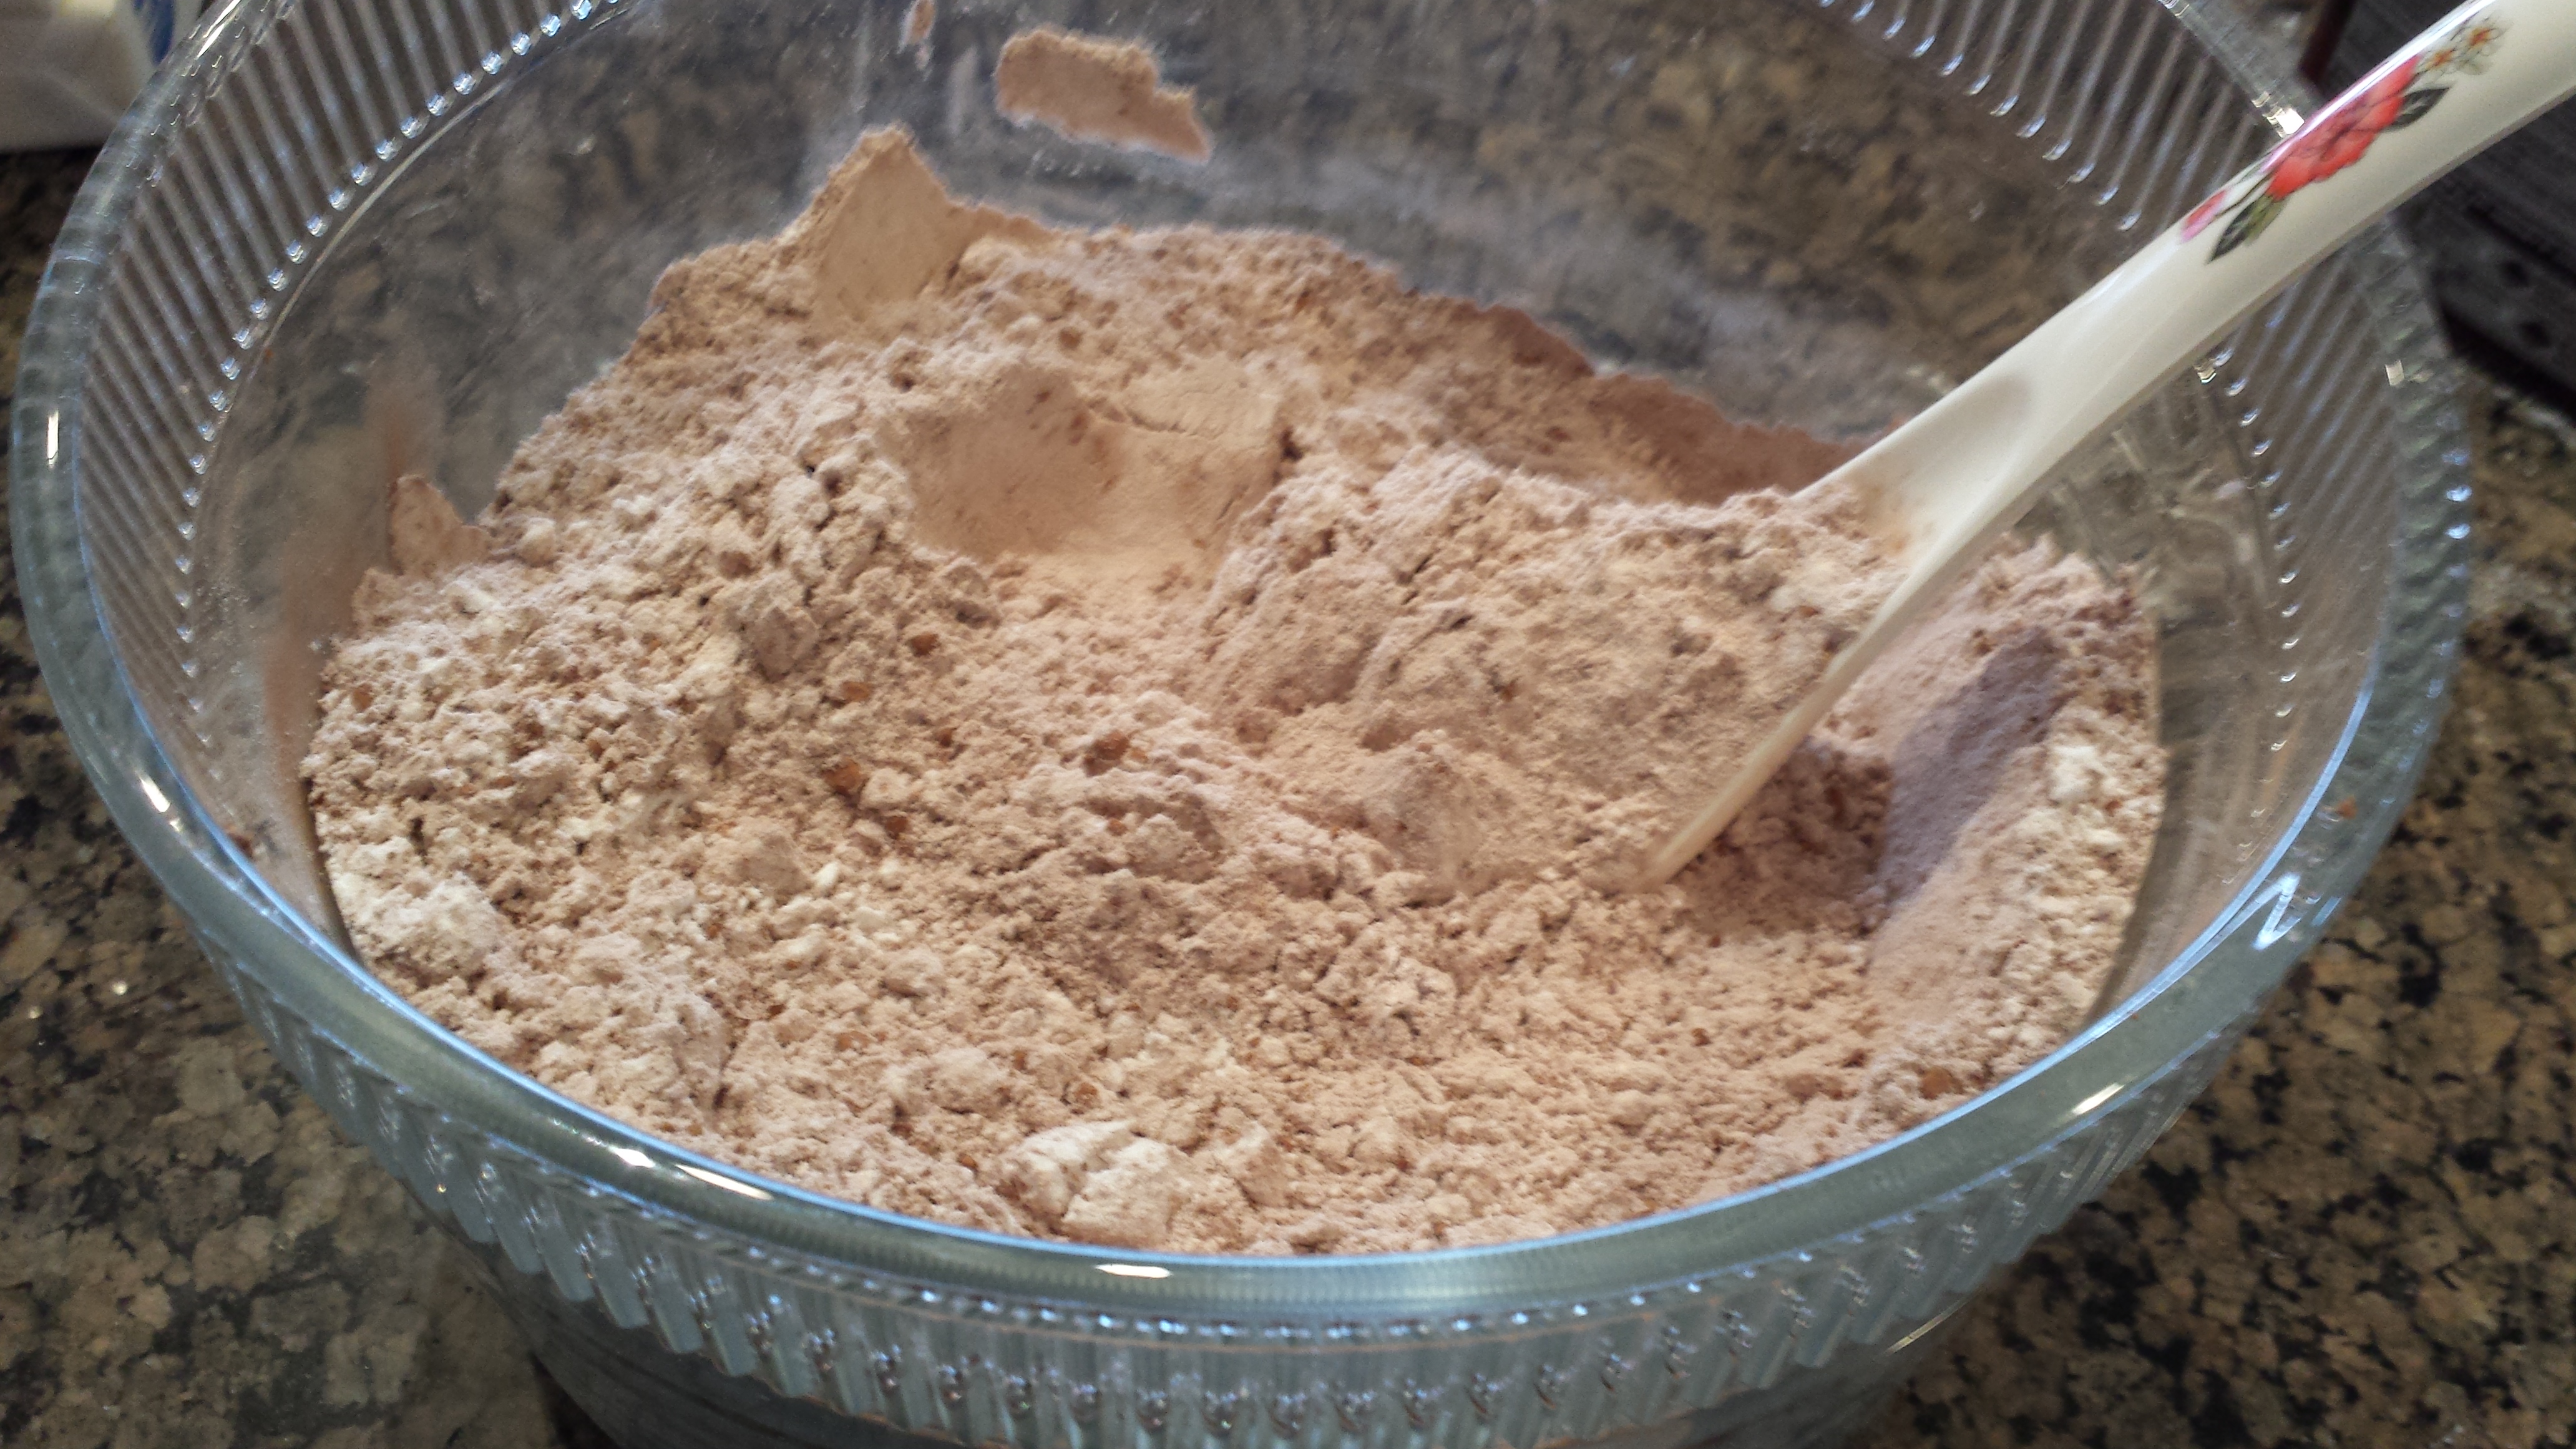
Next, mix the dry ingredients together. The flour, cocoa powder, and baking powder should be sifted together for the most thorough integration and to make the mixture smooth.

The star dry ingredients! Be careful, the cocoa powder is super powdery and can get all over the place. I recommend filling the bowl with the flour first so the cocoa powder has something to land on.
Now it’s time to marry the wet and dry ingredients. Let’s show our admiration as they join happily ever after.

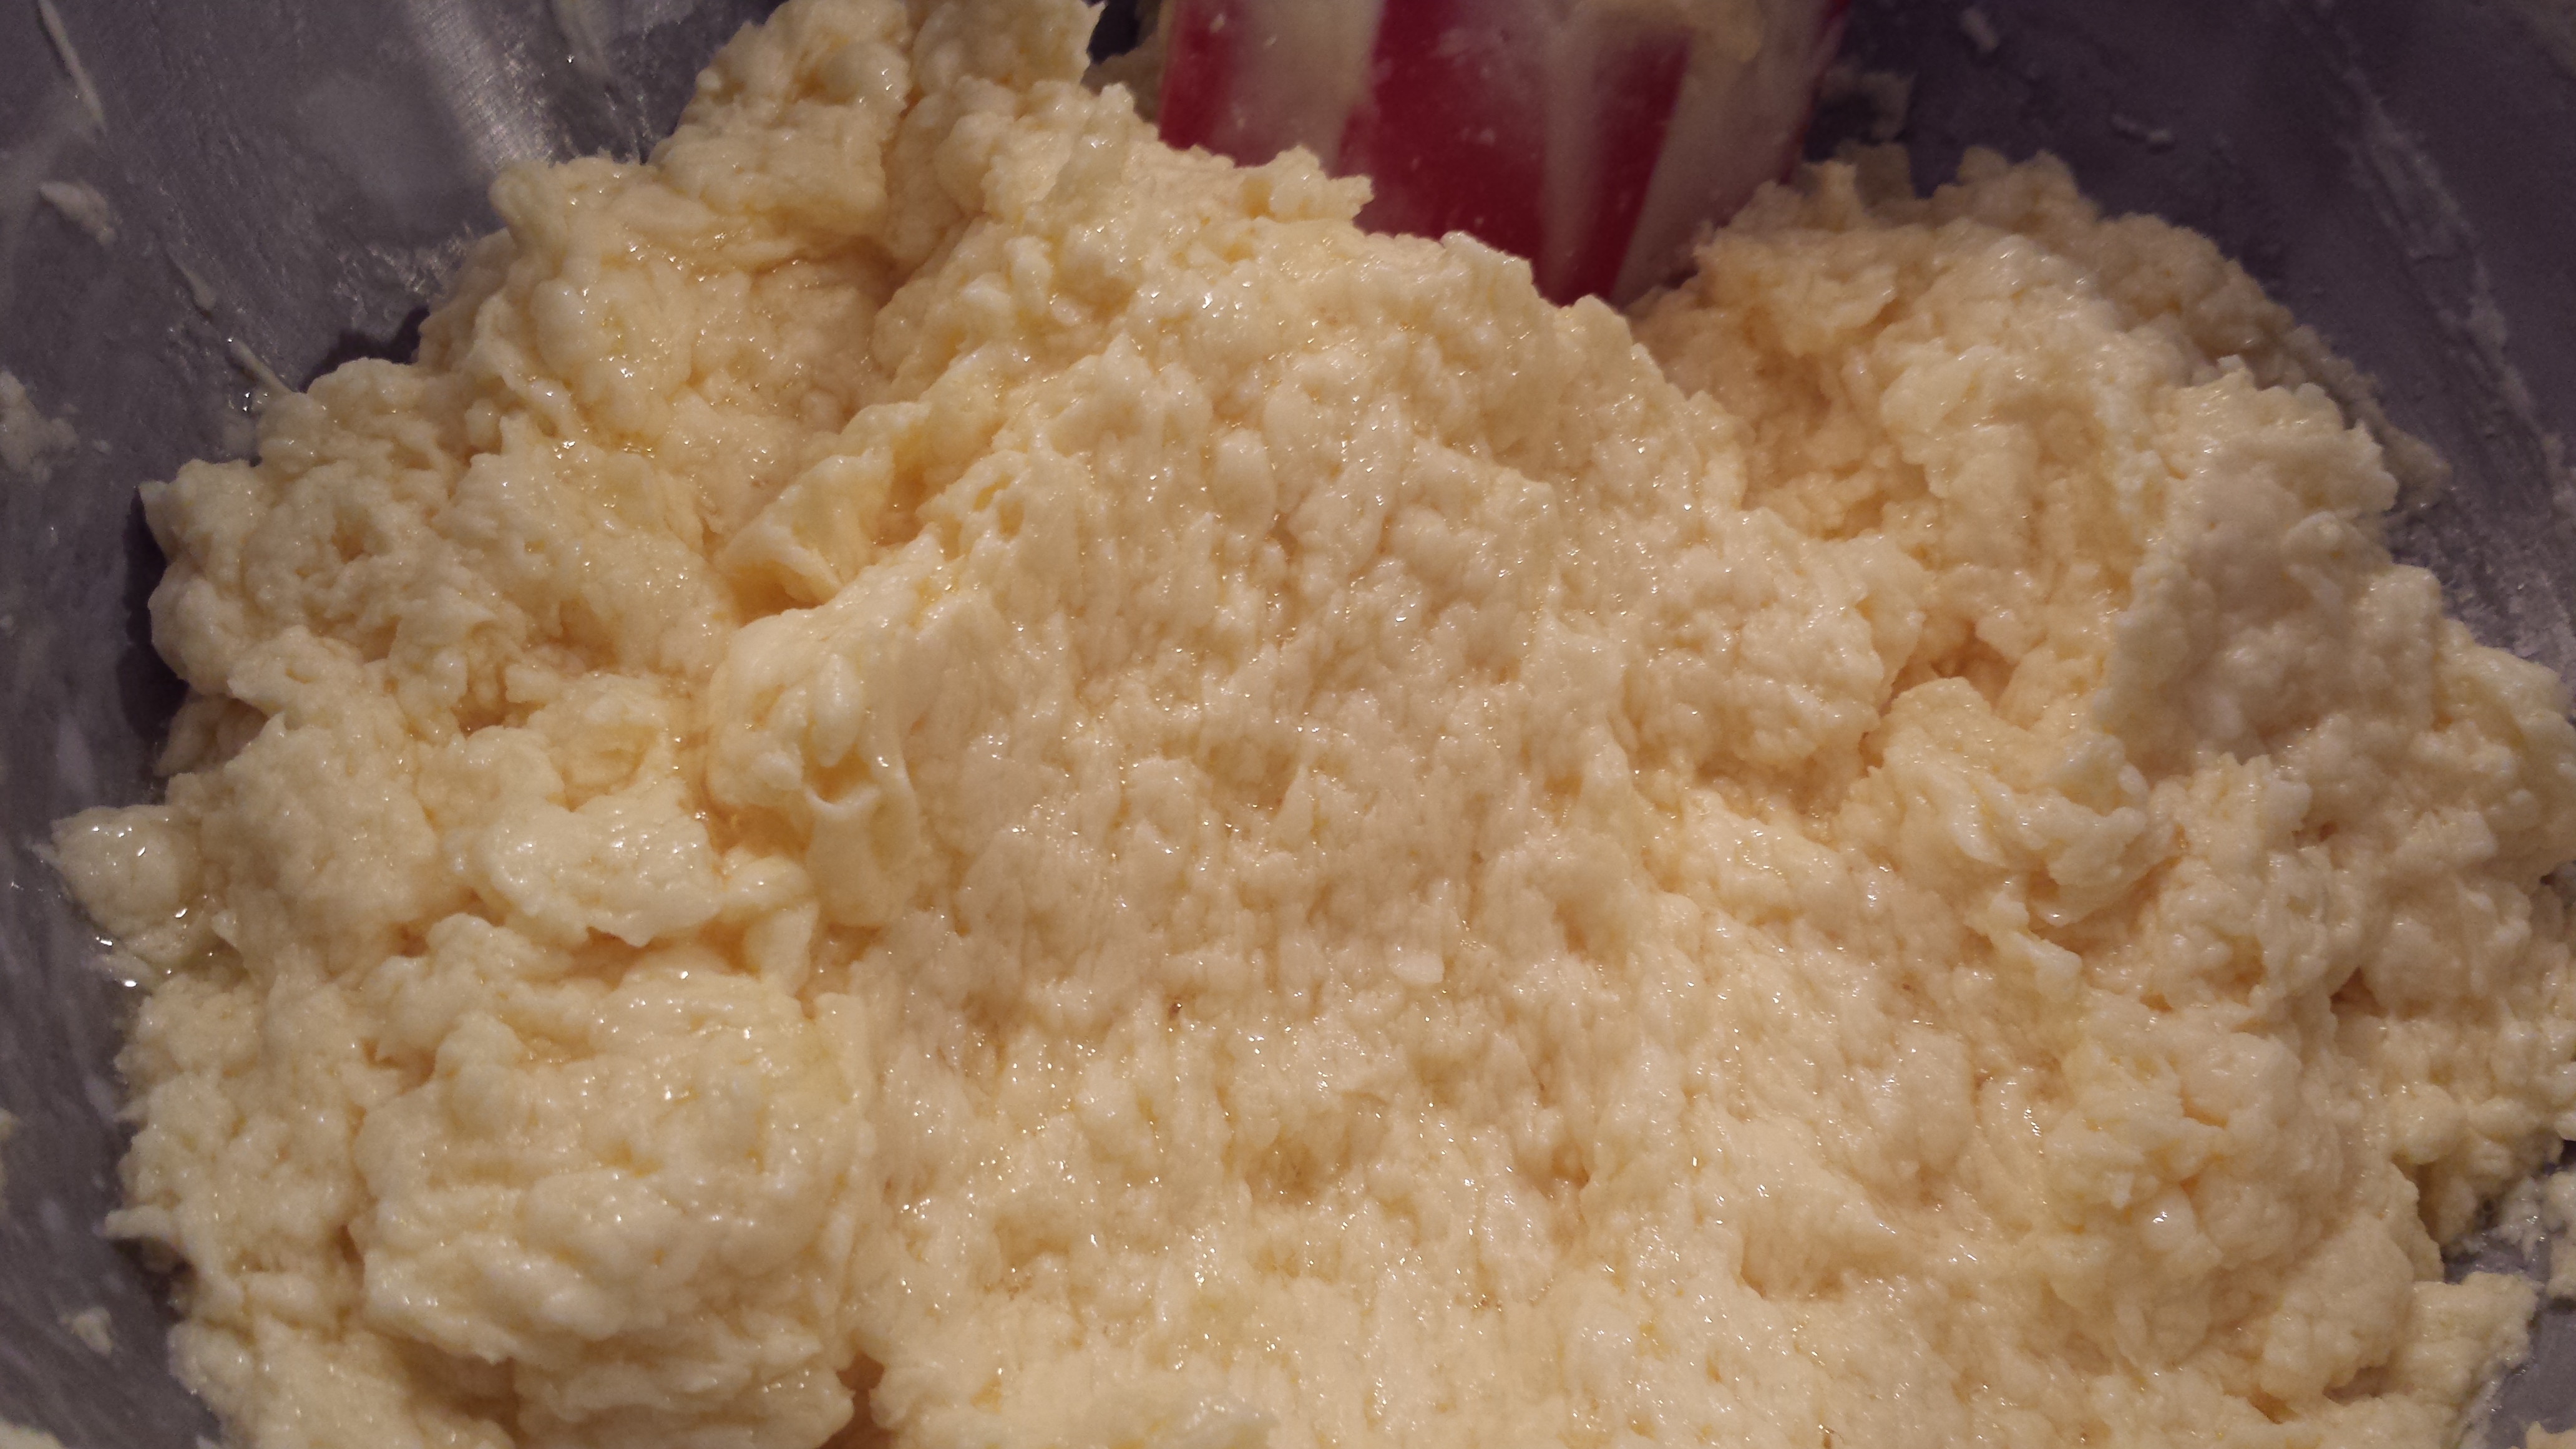
Mix together until they come together to form a smooth batter. In my opinion, the batter seemed a bit dry and I think it could have used some milk. Maybe next time I will add some.
Now your batter should look something like this:

It’s pretty thick, that’s why I feel adding some milk might be a good idea.
Lay the first pastry puff down onto a baking dish or large cutting board. This pastry puff needs to be really cold. Mine had been sitting out from the freezer for about 30 minutes, and it started to get soft right around the time I began using it. I thought I was working fast, but if you might get interrupted it might be best to move the pastry puff to the fridge from the freezer when you begin baking instead of setting it out with the eggs and butter.
Once the first layer is down, start molding the chocolate mixture over it. I tried using a spatula but quickly gave up. Your hands are the best tools. Evenly place about a handful of batter across the pastry puff, the flatten it down to cover the pastry puff completely. Try and make the surface as smooth and even as possible.

You might end up with some extra batter. As I was forming the chocolate mixture onto the puff, I noticed the pastry was stretching, so I didn’t roll it out per the original recipe. Once all of the batter you can fit is on the first pastry layer, add the second pastry on top.

Best looking sandwich ever!
Cover and refrigerate for at least 30 minutes.
Okay, now comes the fun part. Because I have never made pretzels before, and it was getting difficult shaping the dough AND taking pictures, I enlisted the help of my little sister, who graciously formed the dough and worked on her hand-modeling debut! We take care of each other.

Yay teamwork!
Something I didn’t do but learned for next time; roll out the sandwich! The pastry puff and chocolate mixture didn’t stick to each other, and my strips (which I cut 1/2″ wide as opposed to the 3/4″ wide that the recipe calls for) were very thick, making it difficult to roll. Trust me, roll the dough to about 1″ or maybe even 3/4″ thickness. You’ll have more pretzels but they’ll cook more evenly and be easier to shape.
To make the pretzels, follow these steps:
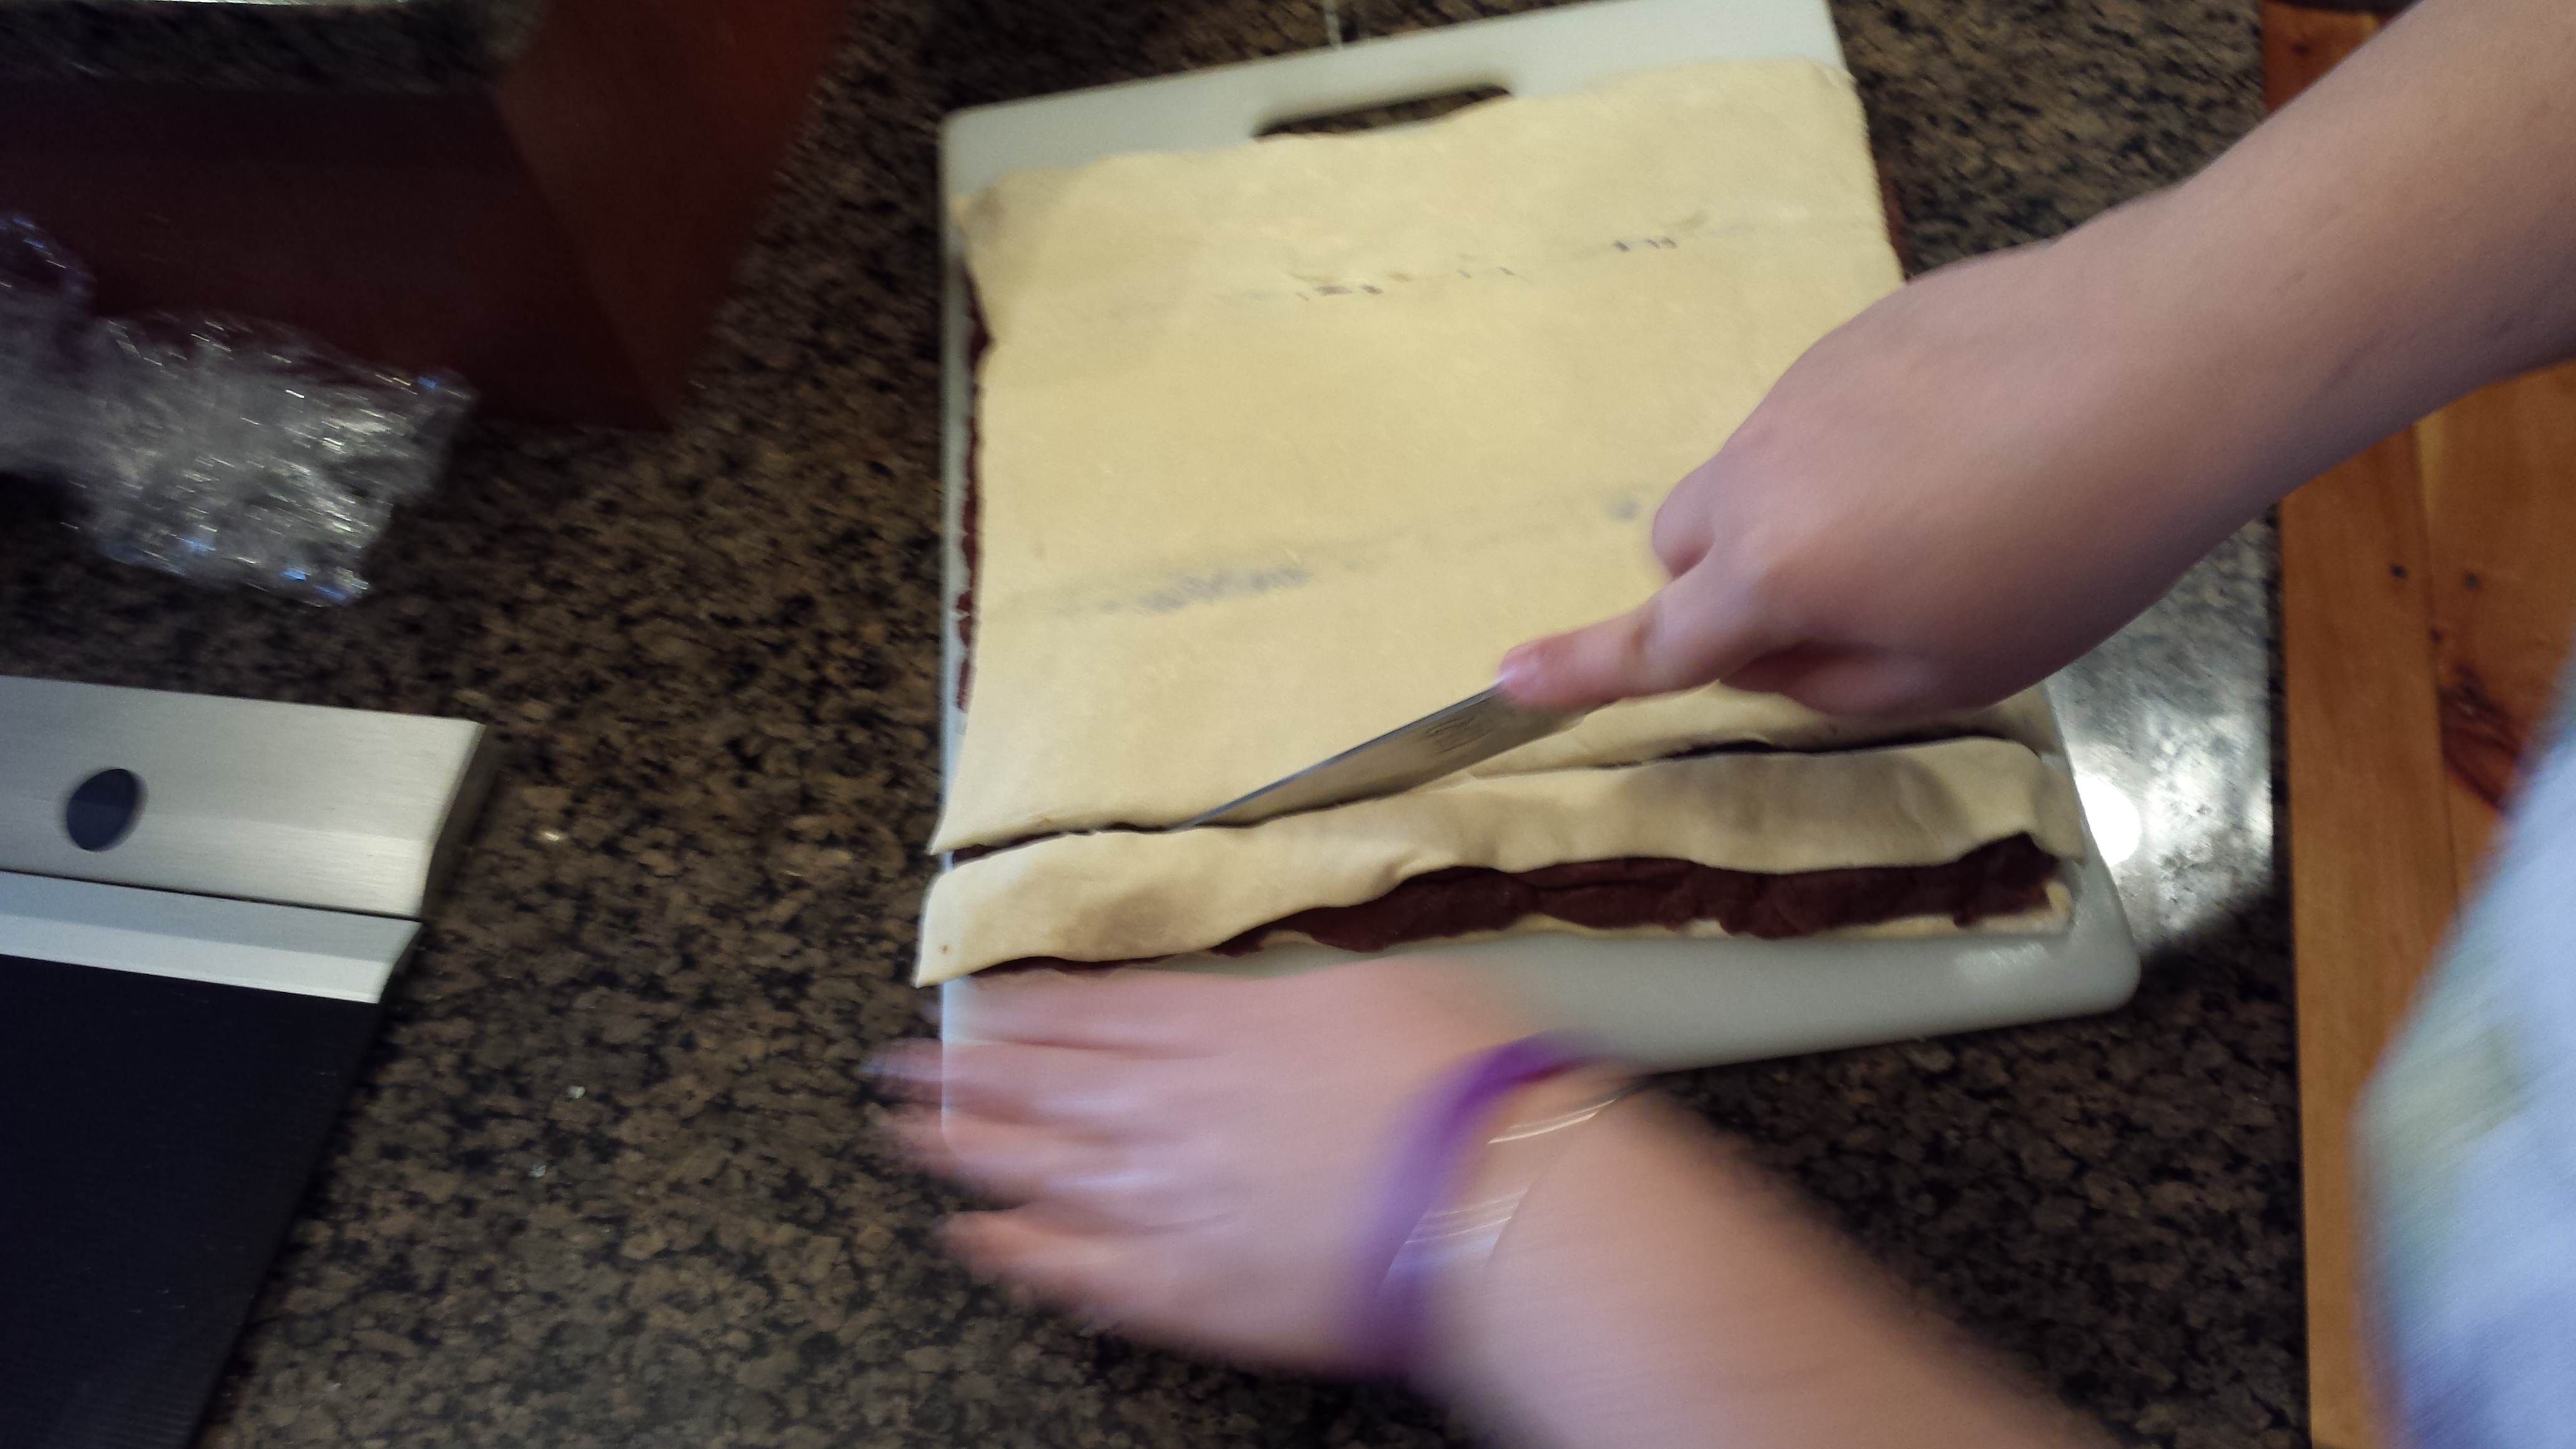
1. Cut the batter into 1/2″ strips.
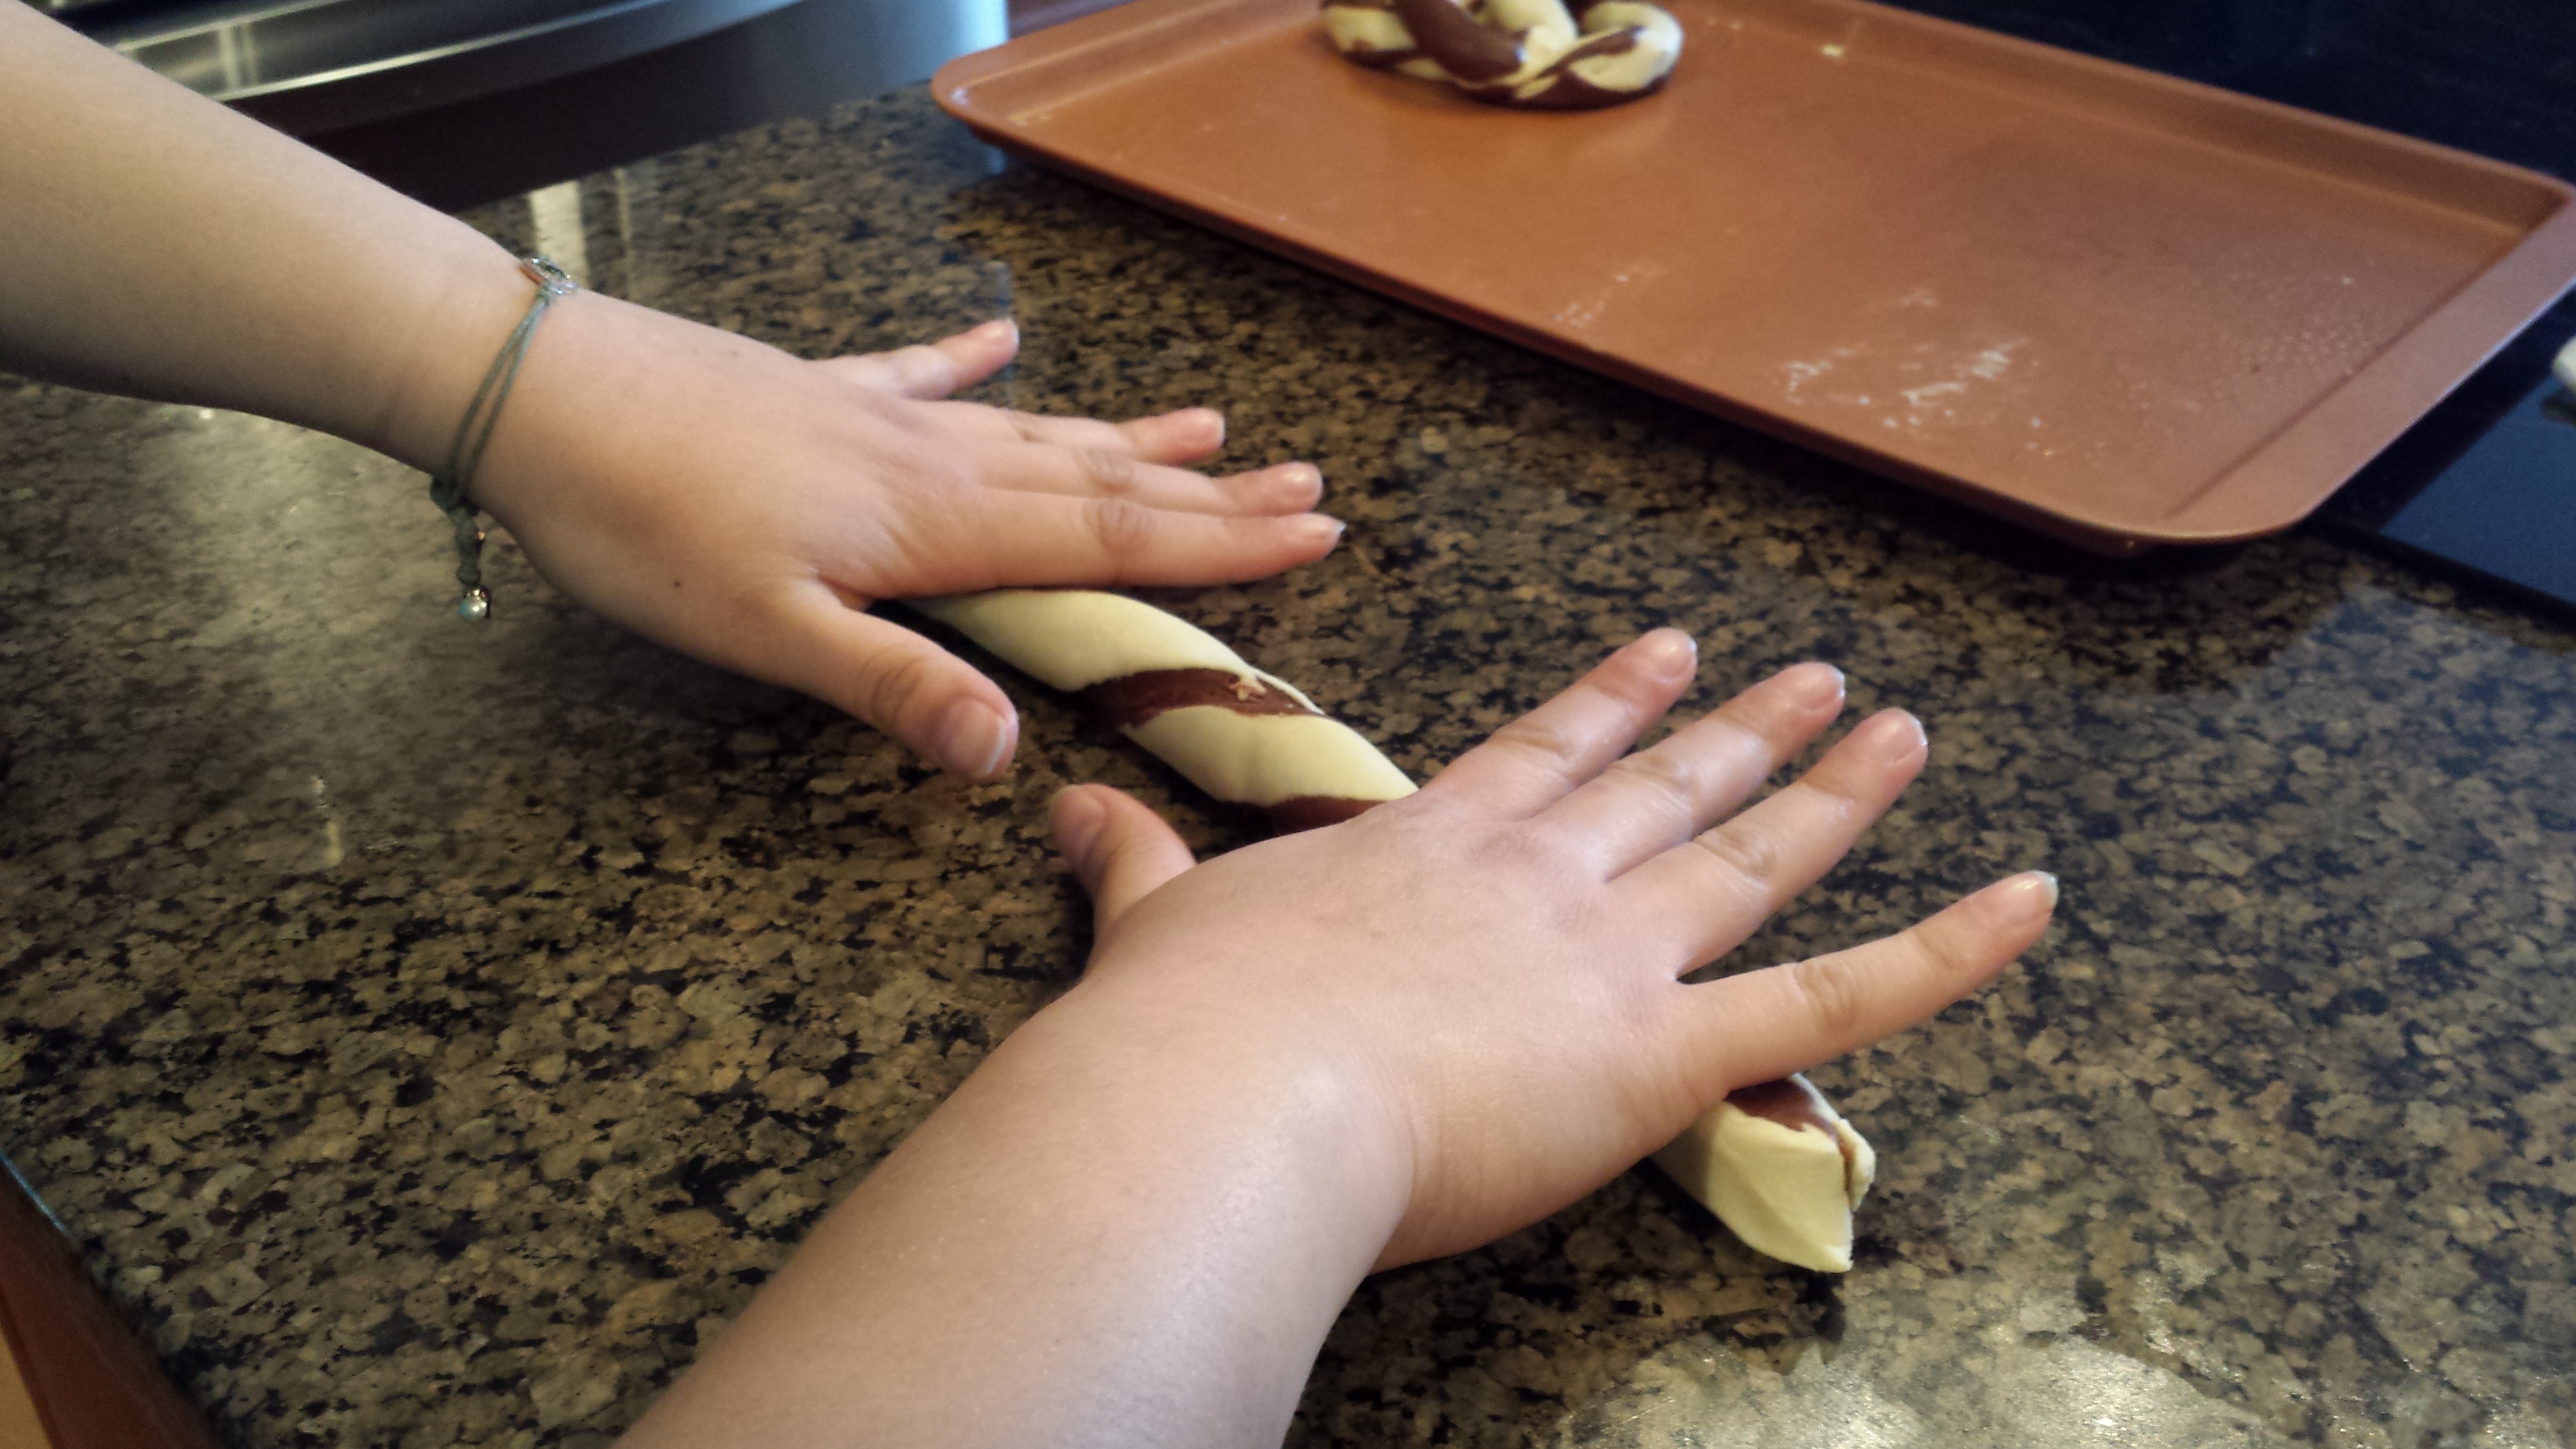
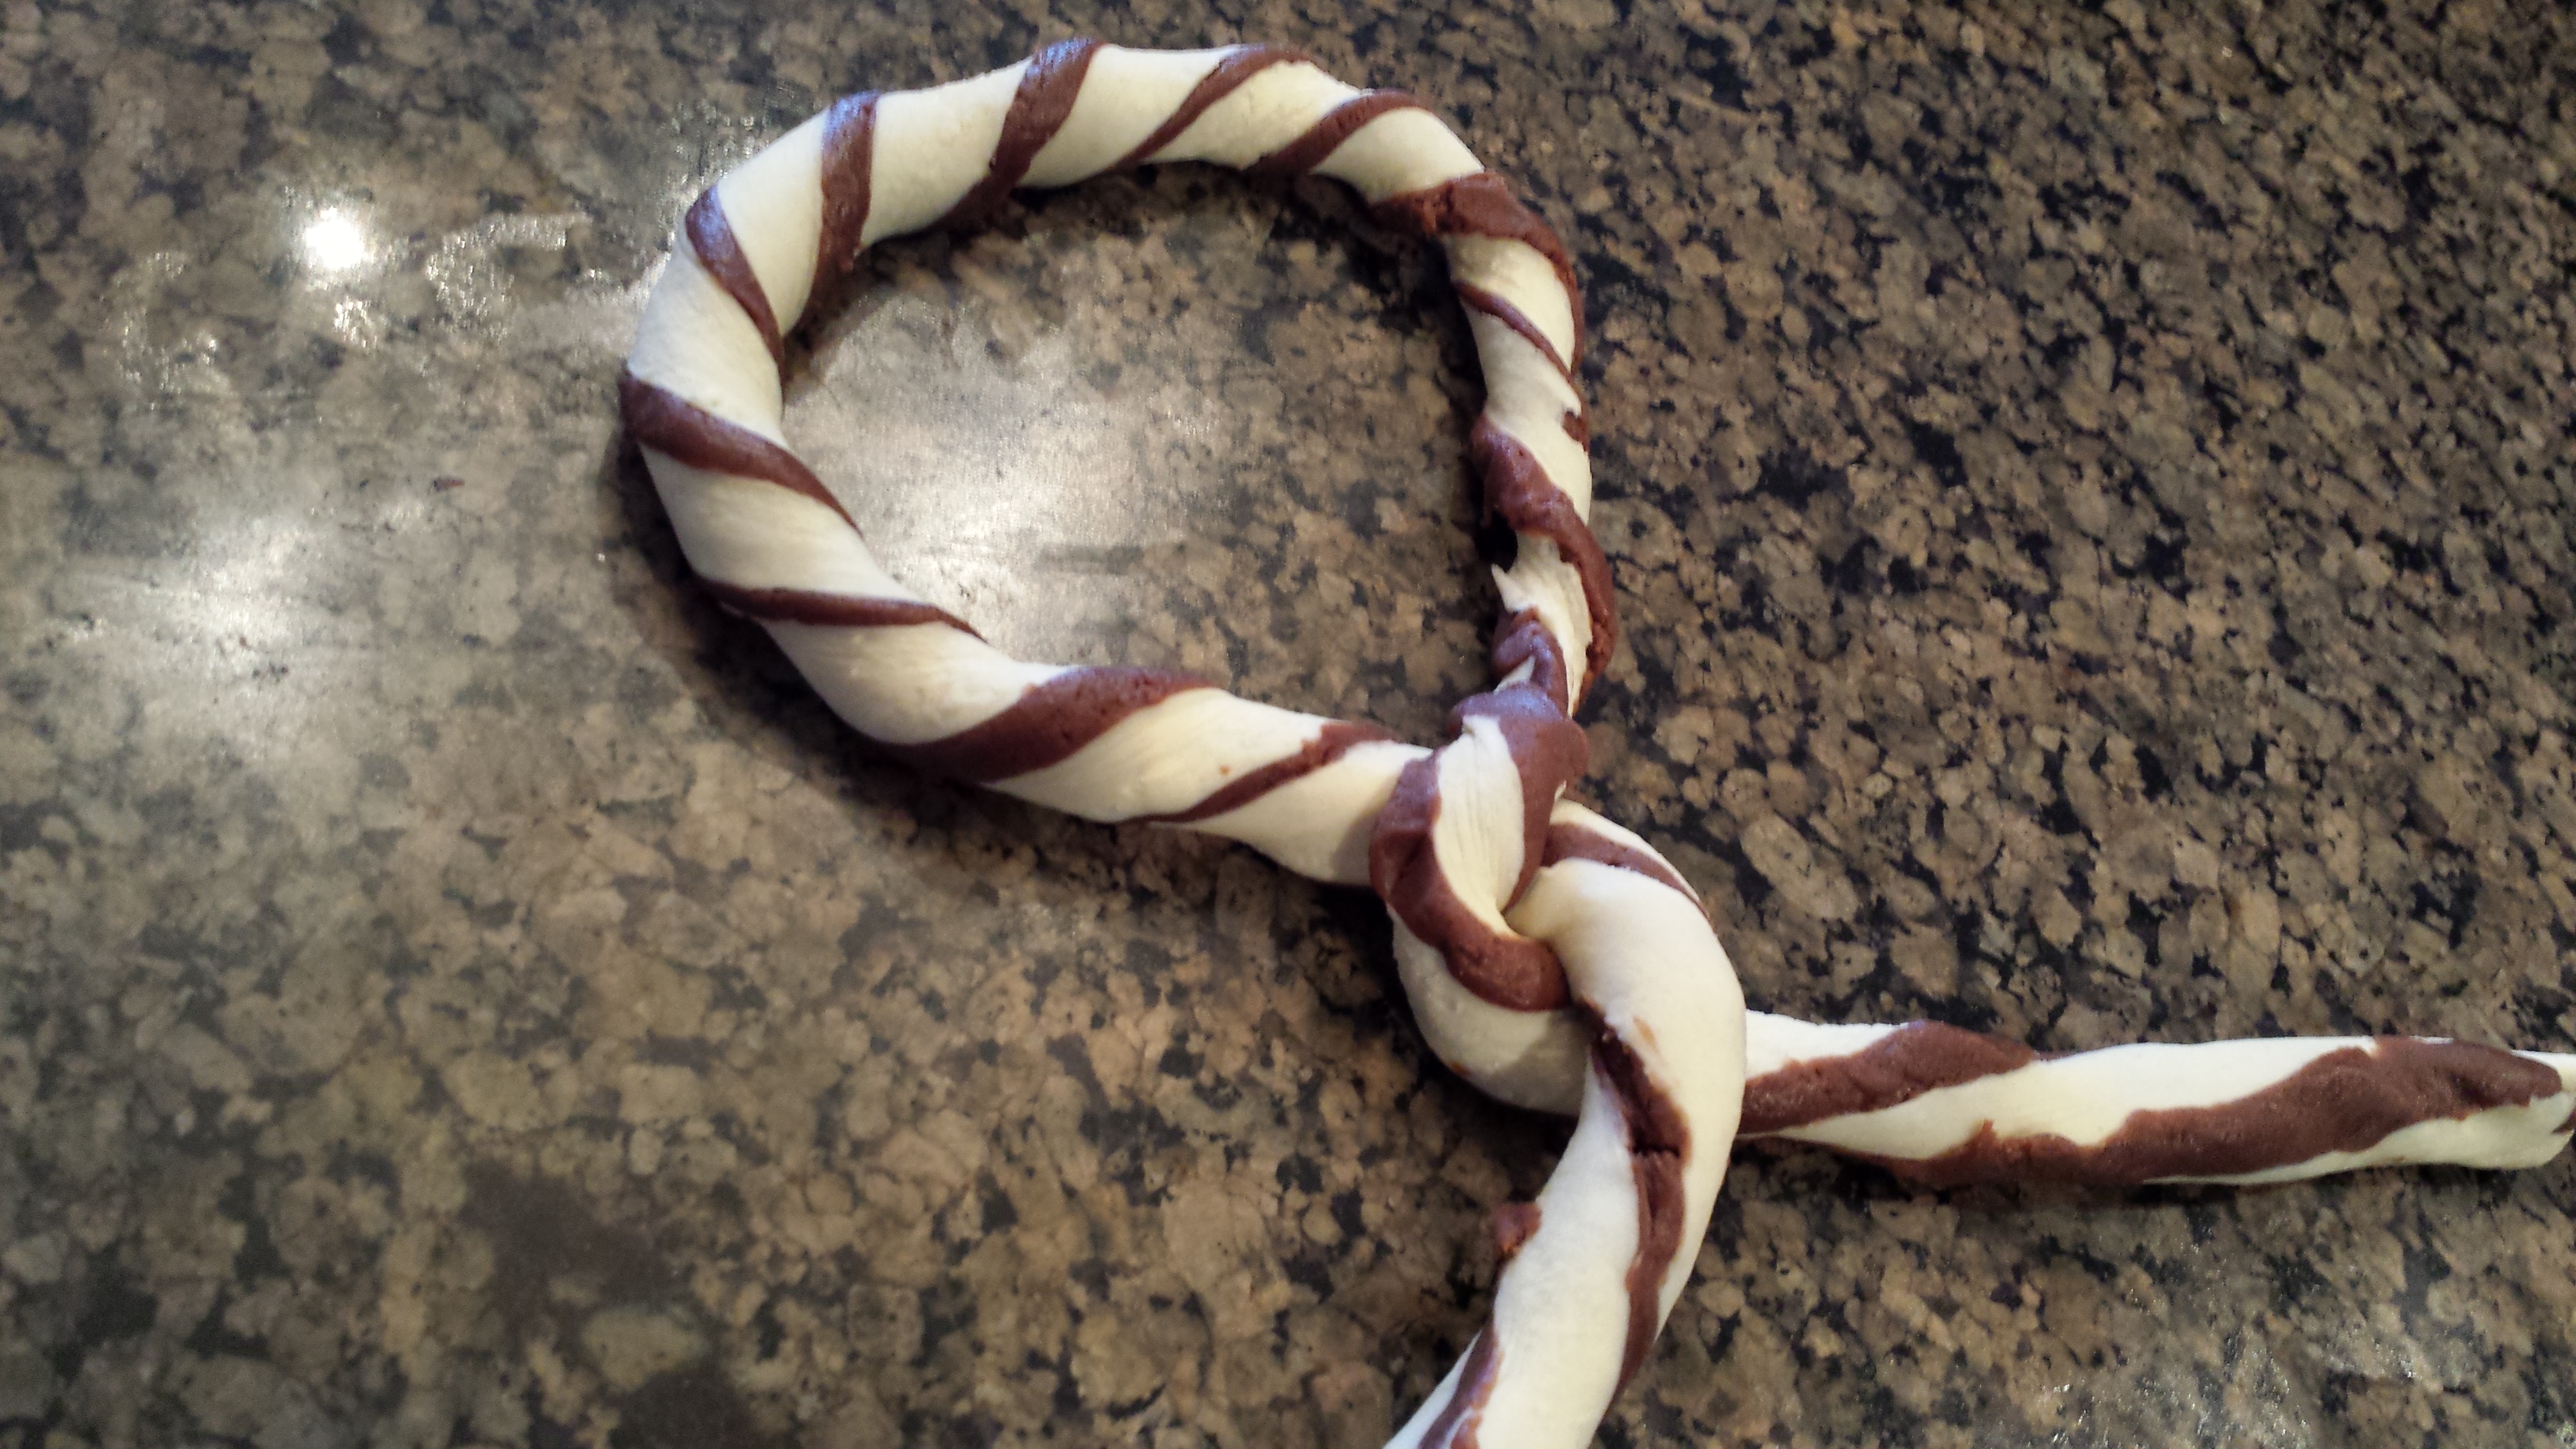
2. Twist the dough together to form a “candy cane” shape. As you twist, slightly stretch the dough as well.


3. Roll the dough to get the sections to stick together more and also to make the section longer.
Note: Your strips should look like this: (fun, right?!)

4a. Pick up the ends gently, and spin the center so it folds into itself. It’s fun if you can manage it like my sister did, but I couldn’t get it down. For the easier, less flashy route, see step 4b.

4b. The easier way! Lay down the section and fold one end over the other, like so;

5. Then, fold over once more. Then take the ends and bring up to the top center of the circle. It will start to look like a pretzel now.

6. Okay! You got your pretzel. Now sprinkle some sugar over the top and add them to a pre-heated 350° oven.
The pretzels will cook for about 15 minutes. They don’t actually expand like I thought they would, but I would keep about 2 inches between each pretzel.
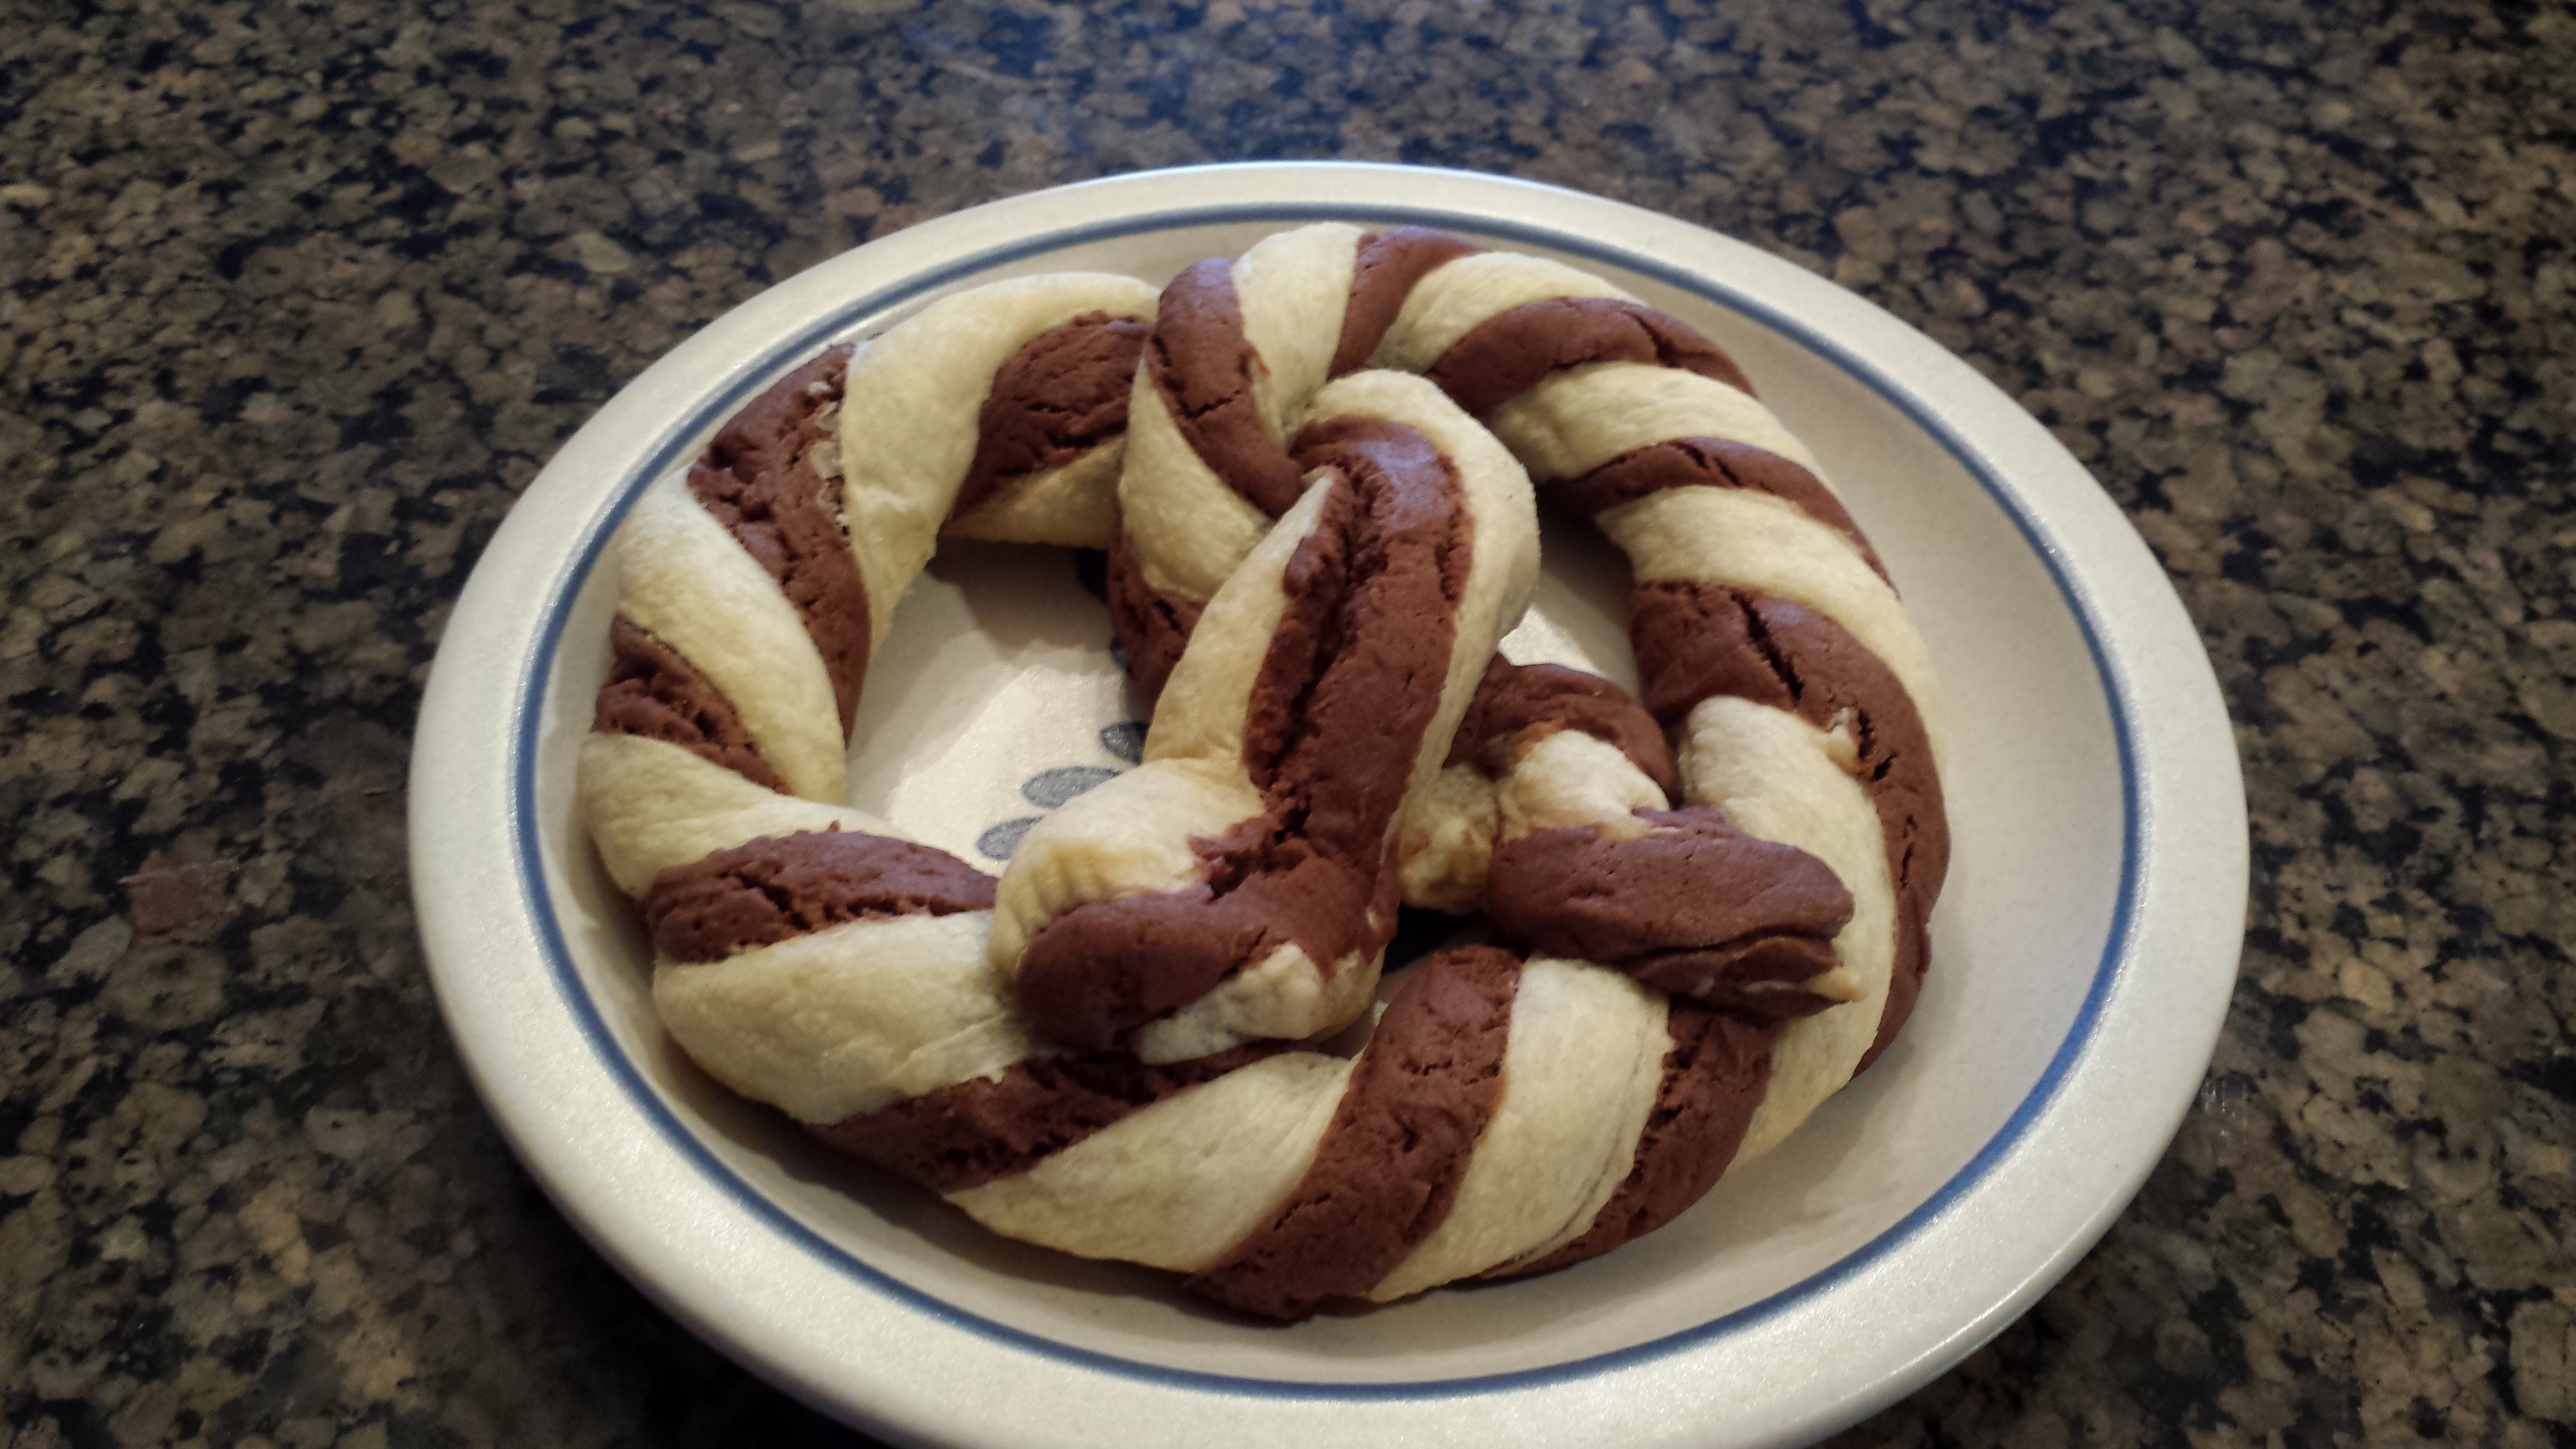
Ta dah!
Chances are, you probably have these ingredients in your kitchen right now. So try out this recipe. And remember, once your treats are done, grab yourself a nice tall glass of cold milk, sit back, and enjoy!
Chocolate Pretzels can be enjoyed at the Boardwalk Bakery.
