Sea Scallops with Creamed Leek Potatoes

Are you ready to create the most romantic, fancy looking dinner that is also unbelievably foolproof? The set-up looks so eloquent, and the taste is five stars. As usual, I created a slightly altered version of this meal, omitting the arugula salad and making sauteed spinach instead. But the star of this dish really is the creamed-leek potatoes. So rich, so smooth, and super indulgent. This isn’t a meal you’ll prepare every Friday night, but save it for a special occasion and it’s sure to make the night memorable.

You can enjoy this dish at the Walt Disney World Swan and Dolphin Resort. You can find the original recipe that I followed here, as well as listed below.

First things first, peel and chop the potatoes. I used four large yellow potatoes, but I believe I could have even used six and the potatoes would still be very rich. Like I said, this is a very indulgent dish. I was cooking for a family of six, so I doubled the amount of scallops and added the extra potatoes.

20140222_155121

Get the peeled and sliced potatoes into a large pot of cold water, cover the pot, and set the heat to high to boil. While those are cooking, take out the scallops so that they can reach room temperature. I had 2 dozen large fresh sea scallops, so we each had four. Although… some may have gone missing before they made it to the plate. :/

Looks like spring!

Next, chop up the leeks into thin circles. If you have never eaten leeks, they have a mild onion flavor, very similar to scallions. The thing to keep an eye out for is that leeks can have sandy residue between the layers, so it’s always a good idea to submerge them in a large bowl of cold water for about five minutes, allowing the sediment will drop to the bottom of the bowl. You don’t want to get a piece of sand in your mouth!

20140222_160957

Once the leeks have been soaked and you have patted them dry, warm a couple of tablespoons of olive oil in a medium pan over medium-high heat, and add the leek slices. You’ll want to cook them until they are very tender, about 10 minutes. If timed correctly, the leeks should be finished by the time the potatoes are tender as well. I set the sherry in a small pot over medium-high heat while the leeks cooked.

Once the potatoes are tender, drain the water and put the potatoes back in the pot along with the cooked leeks. Now it’s time to turn your attention to the two simple ingredients that will bring these potatoes to a whole other level. The heavy cream and butter.

20140222_160353_Richtone(HDR)

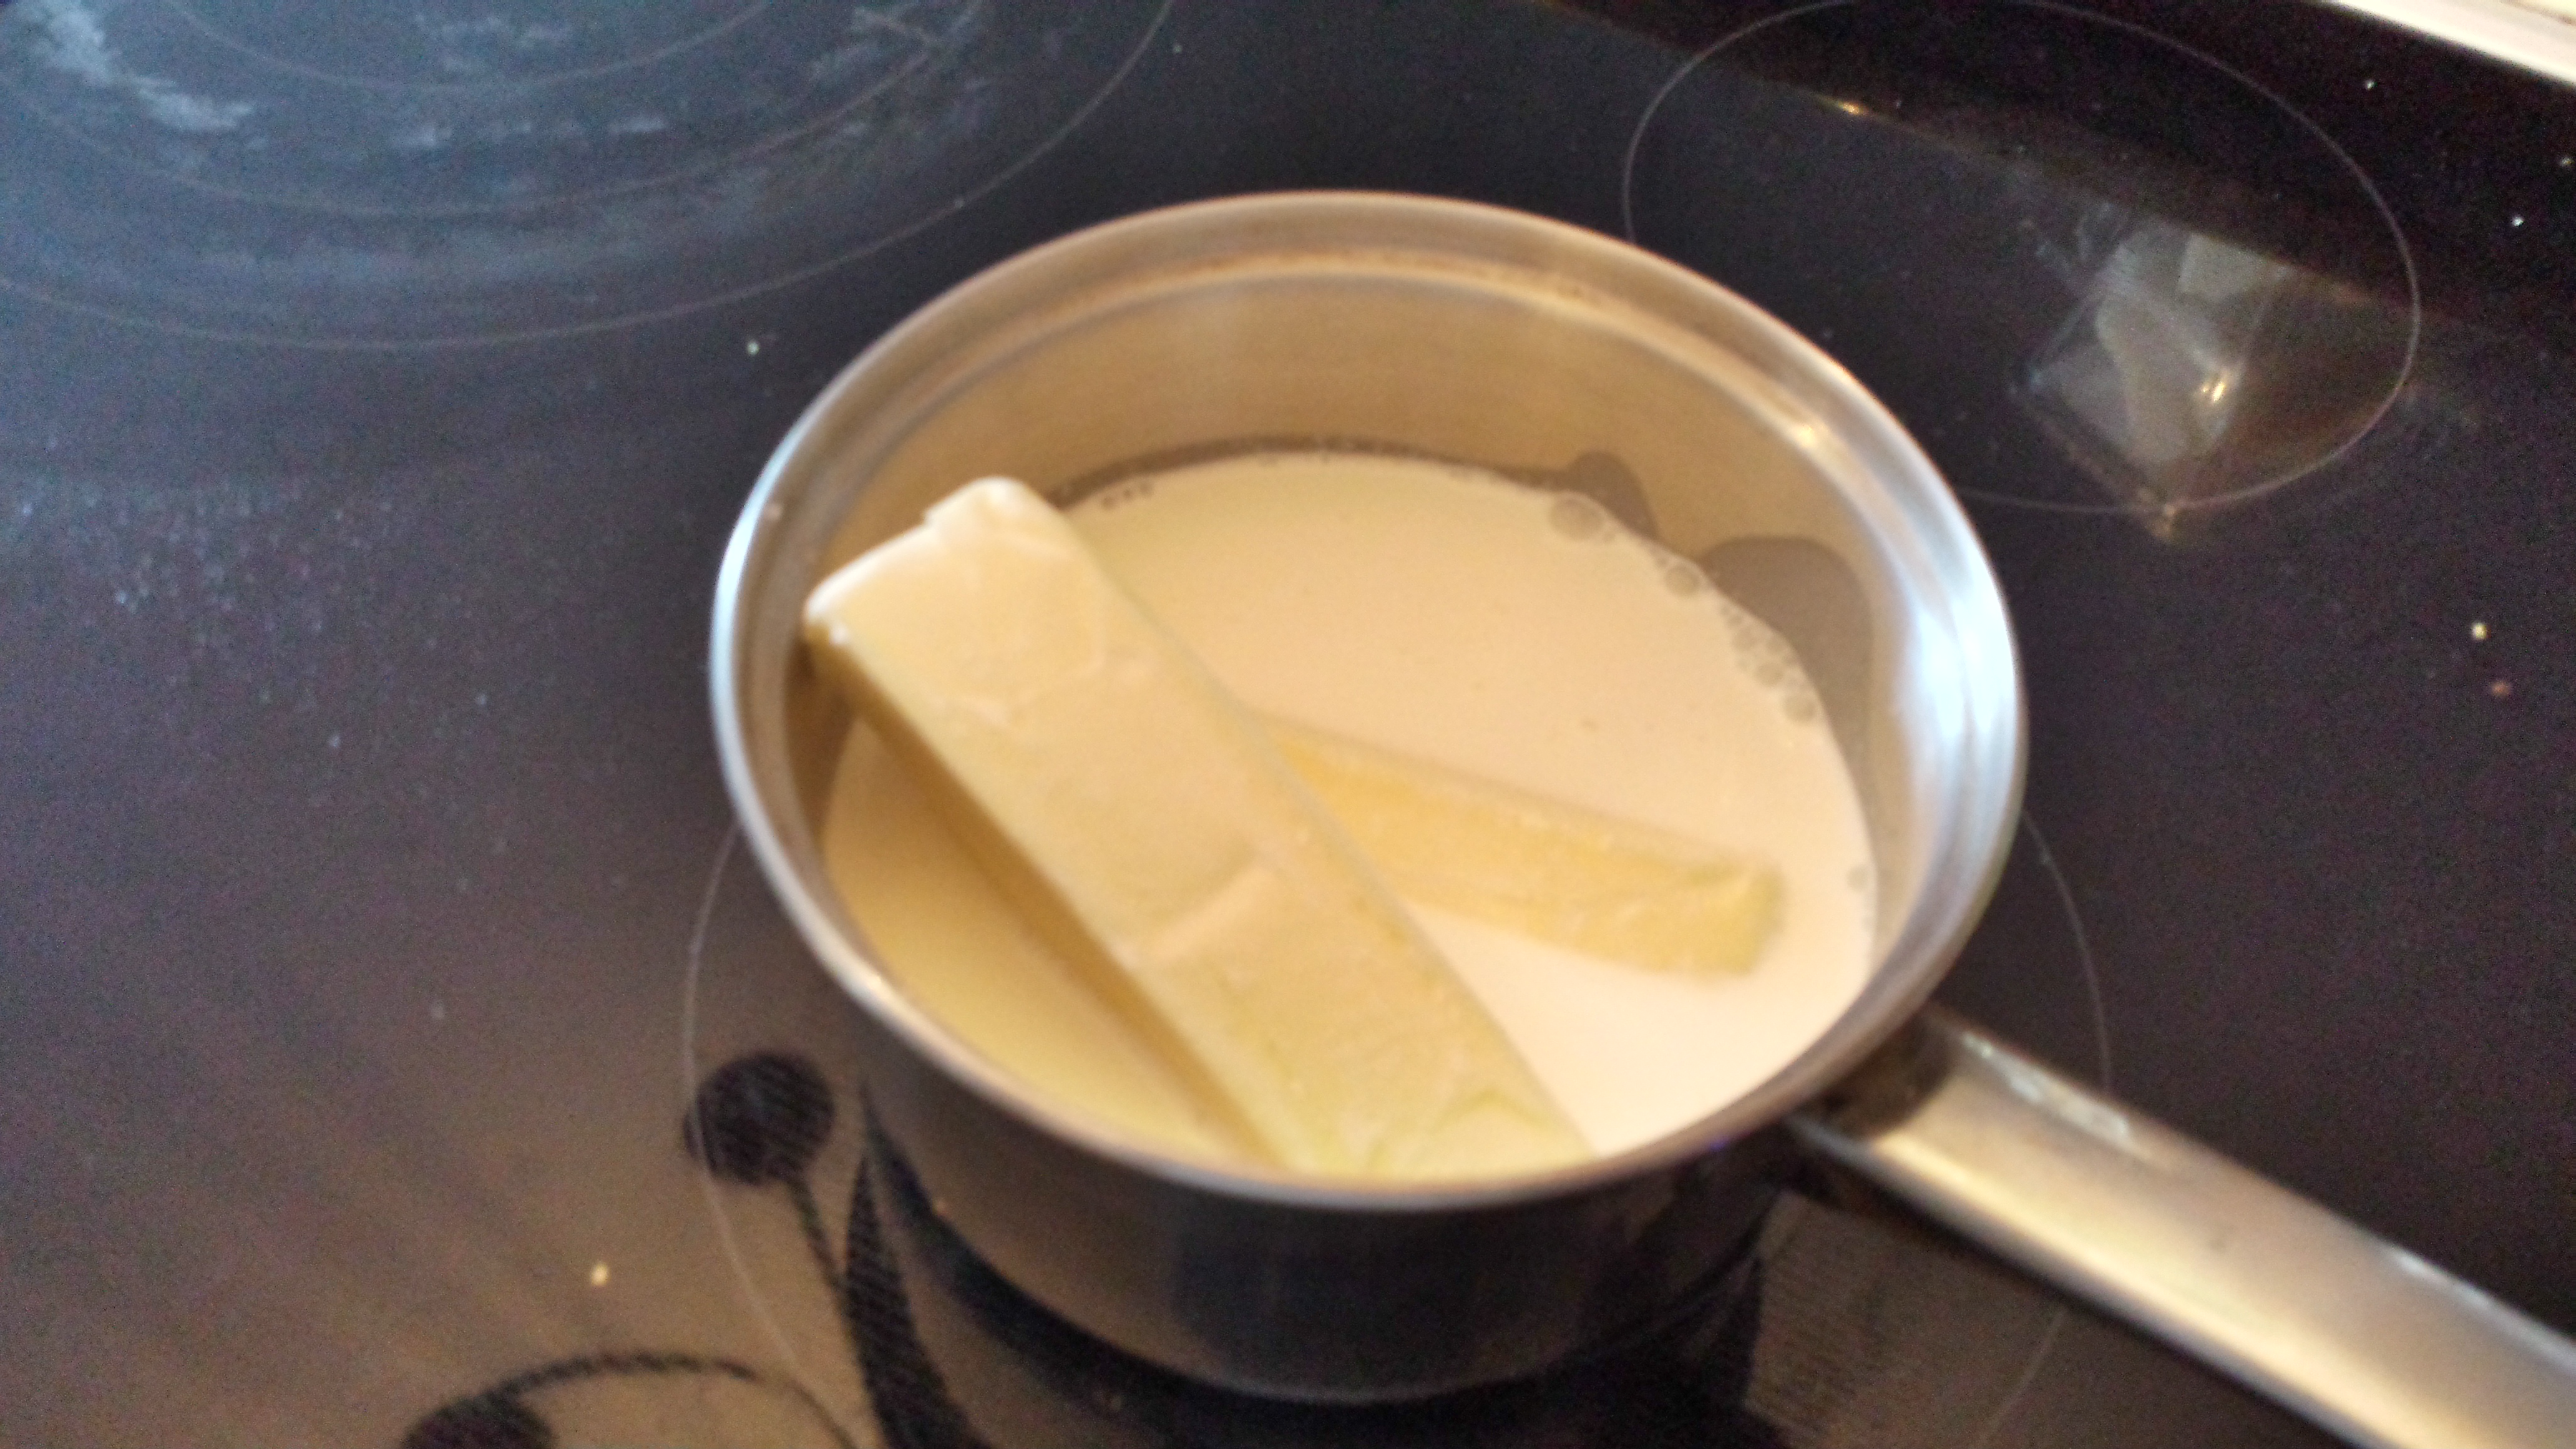
Melt the two luxurious  ingredients together over low heat, so not to burn the cream. Once the two have melted, add it to the potatoes and leeks. I sprinkled a little salt into the potato mixture as well, but no pepper. I only have black pepper, and that would have ruined the elegant presentation of this dish. You could use white pepper, though I don’t think the potatoes needed to be seasoned much.

And now, I will attempt to convince you all why investing in this next item is the best culinary decision you can ever make:
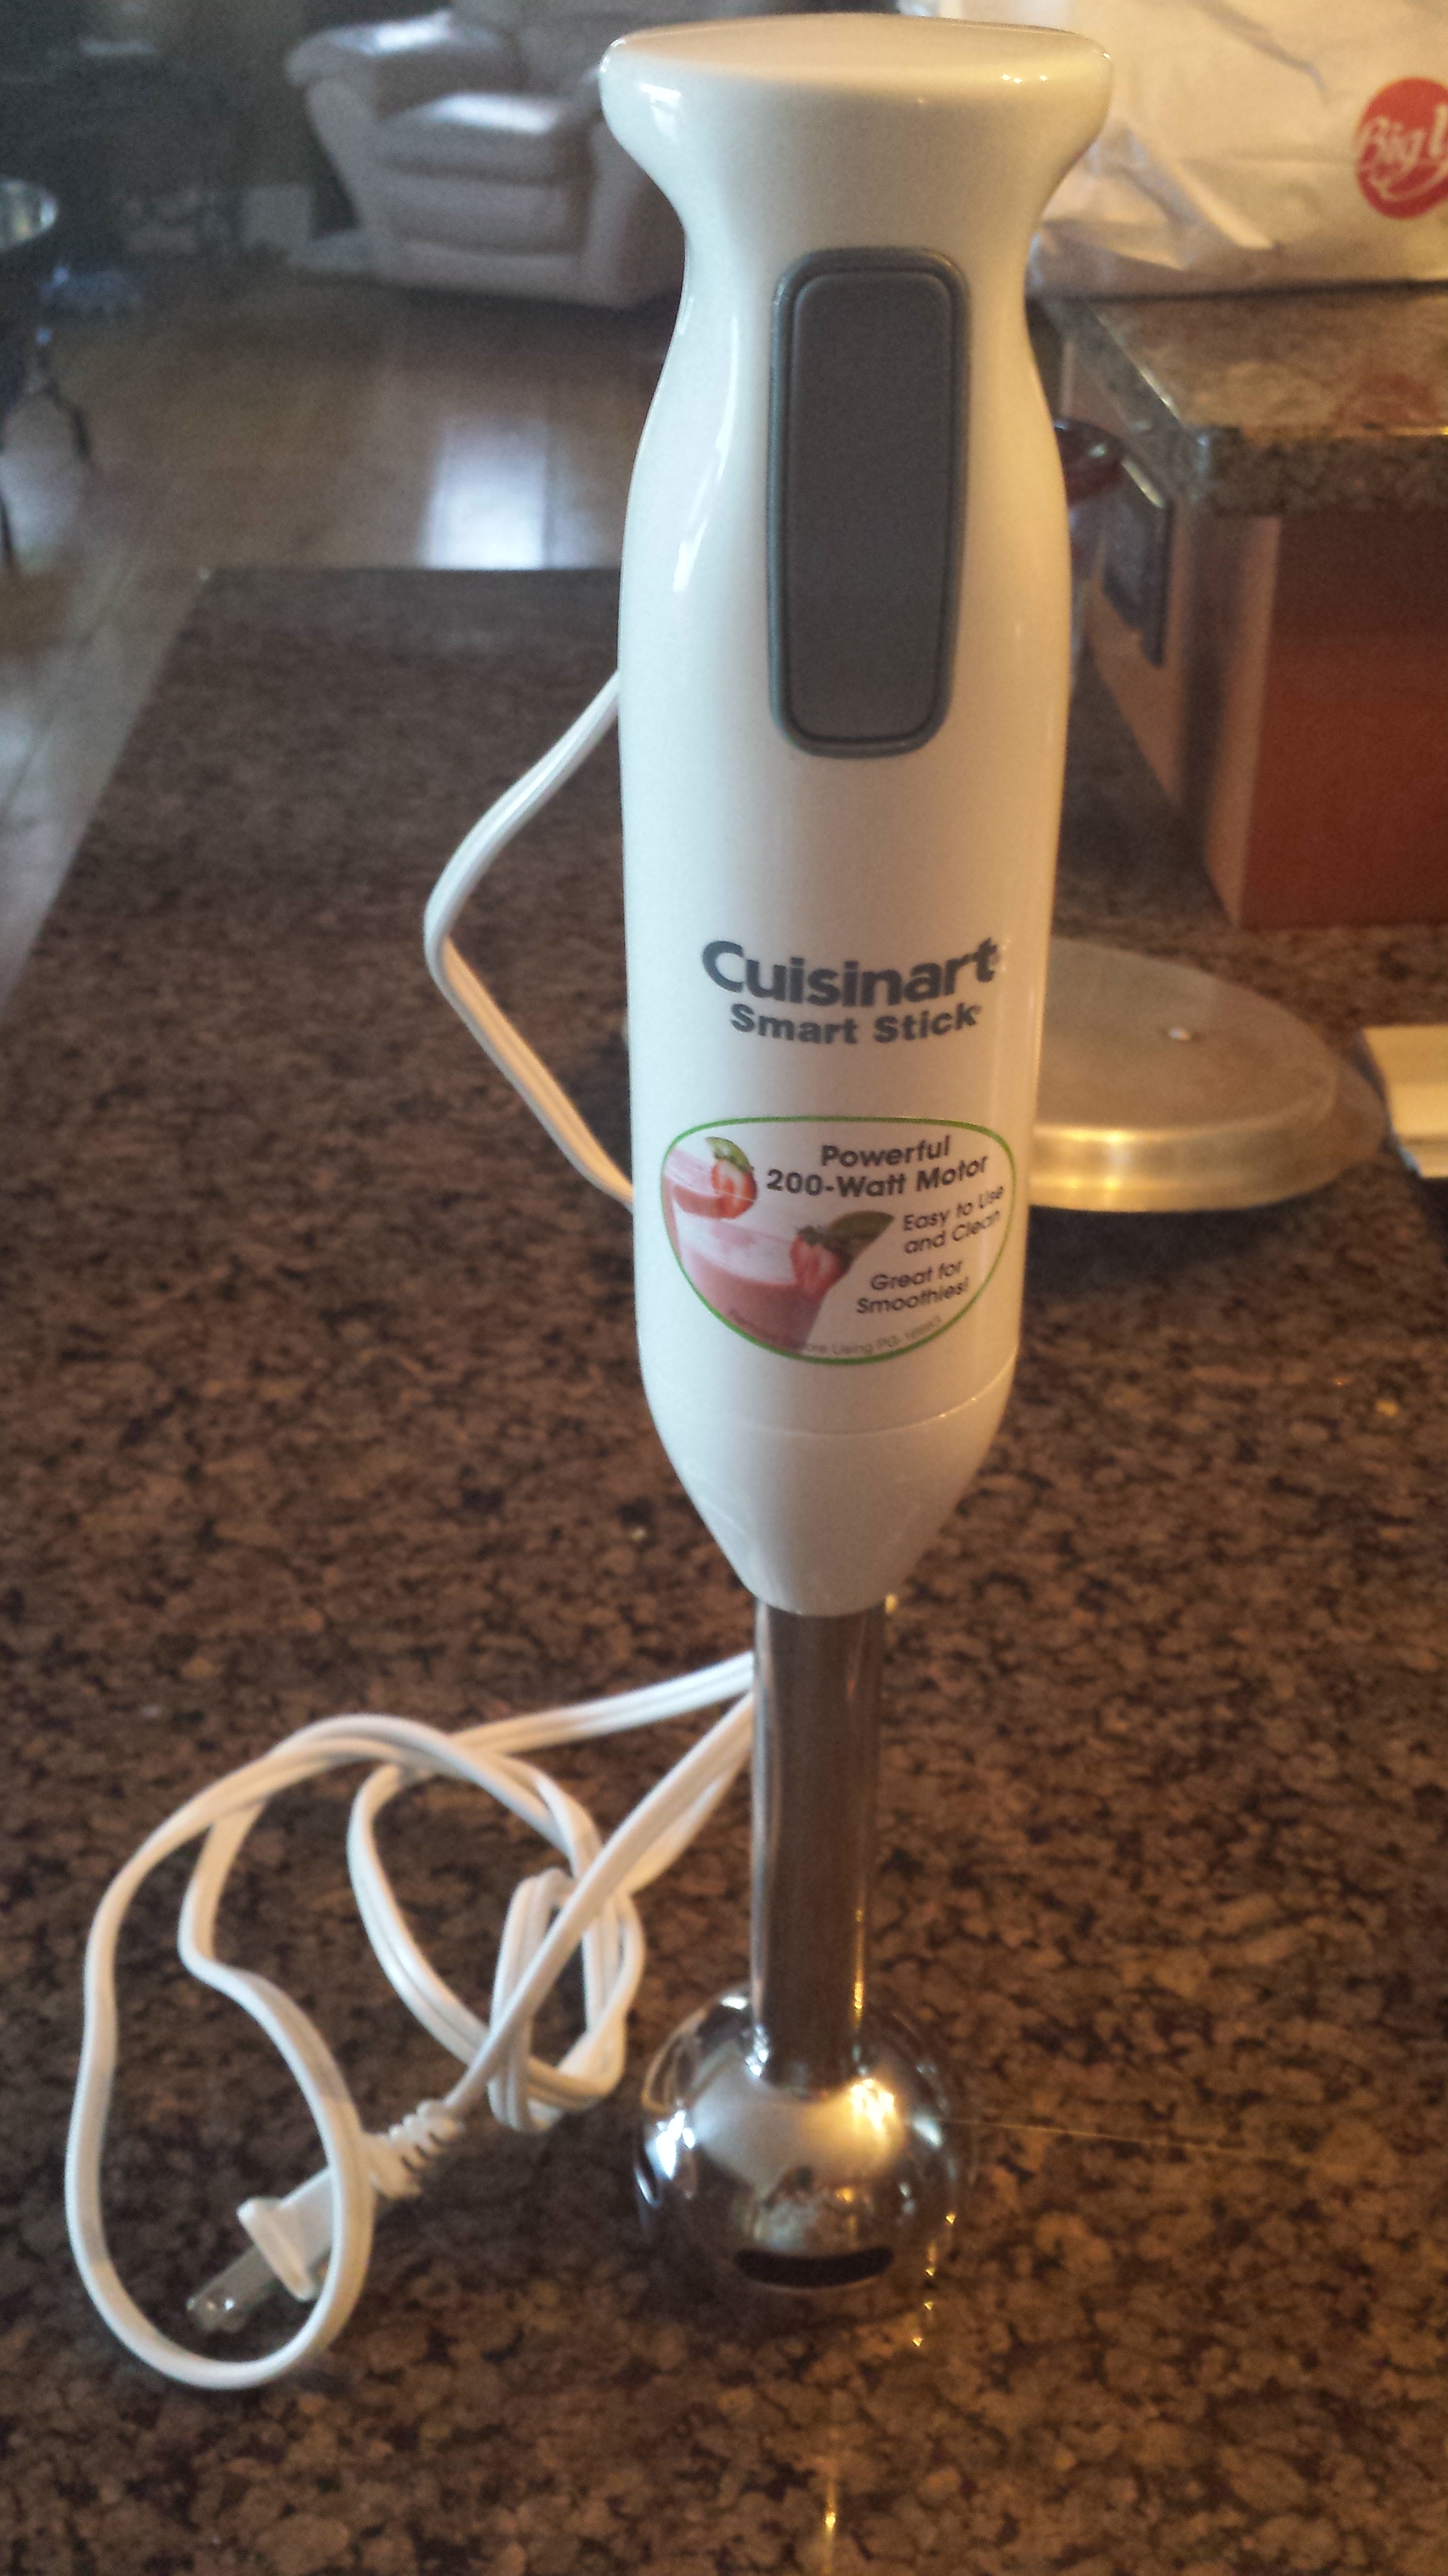
THE EMULSIFIER!!

THE EMULSIFIER!!

I use this all the time. To cream soups, to blend fruits for smoothies, and now, to mash potatoes into a smooth, velvety finish that you could only dream of. They are reasonably priced, very easy to clean, and have the power to make you feel a bit like a bad-ass in the kitchen. Even if you’re wearing a Mickey Mouse apron.

If you don’t have an emulsifier, you can use a mixer to whip the potato-leek mixture. If you’re going for the romantic presentation, you don’t want to use a traditional masher, because no matter how hard you try the potatoes will still be lumpy.

20140222_164732

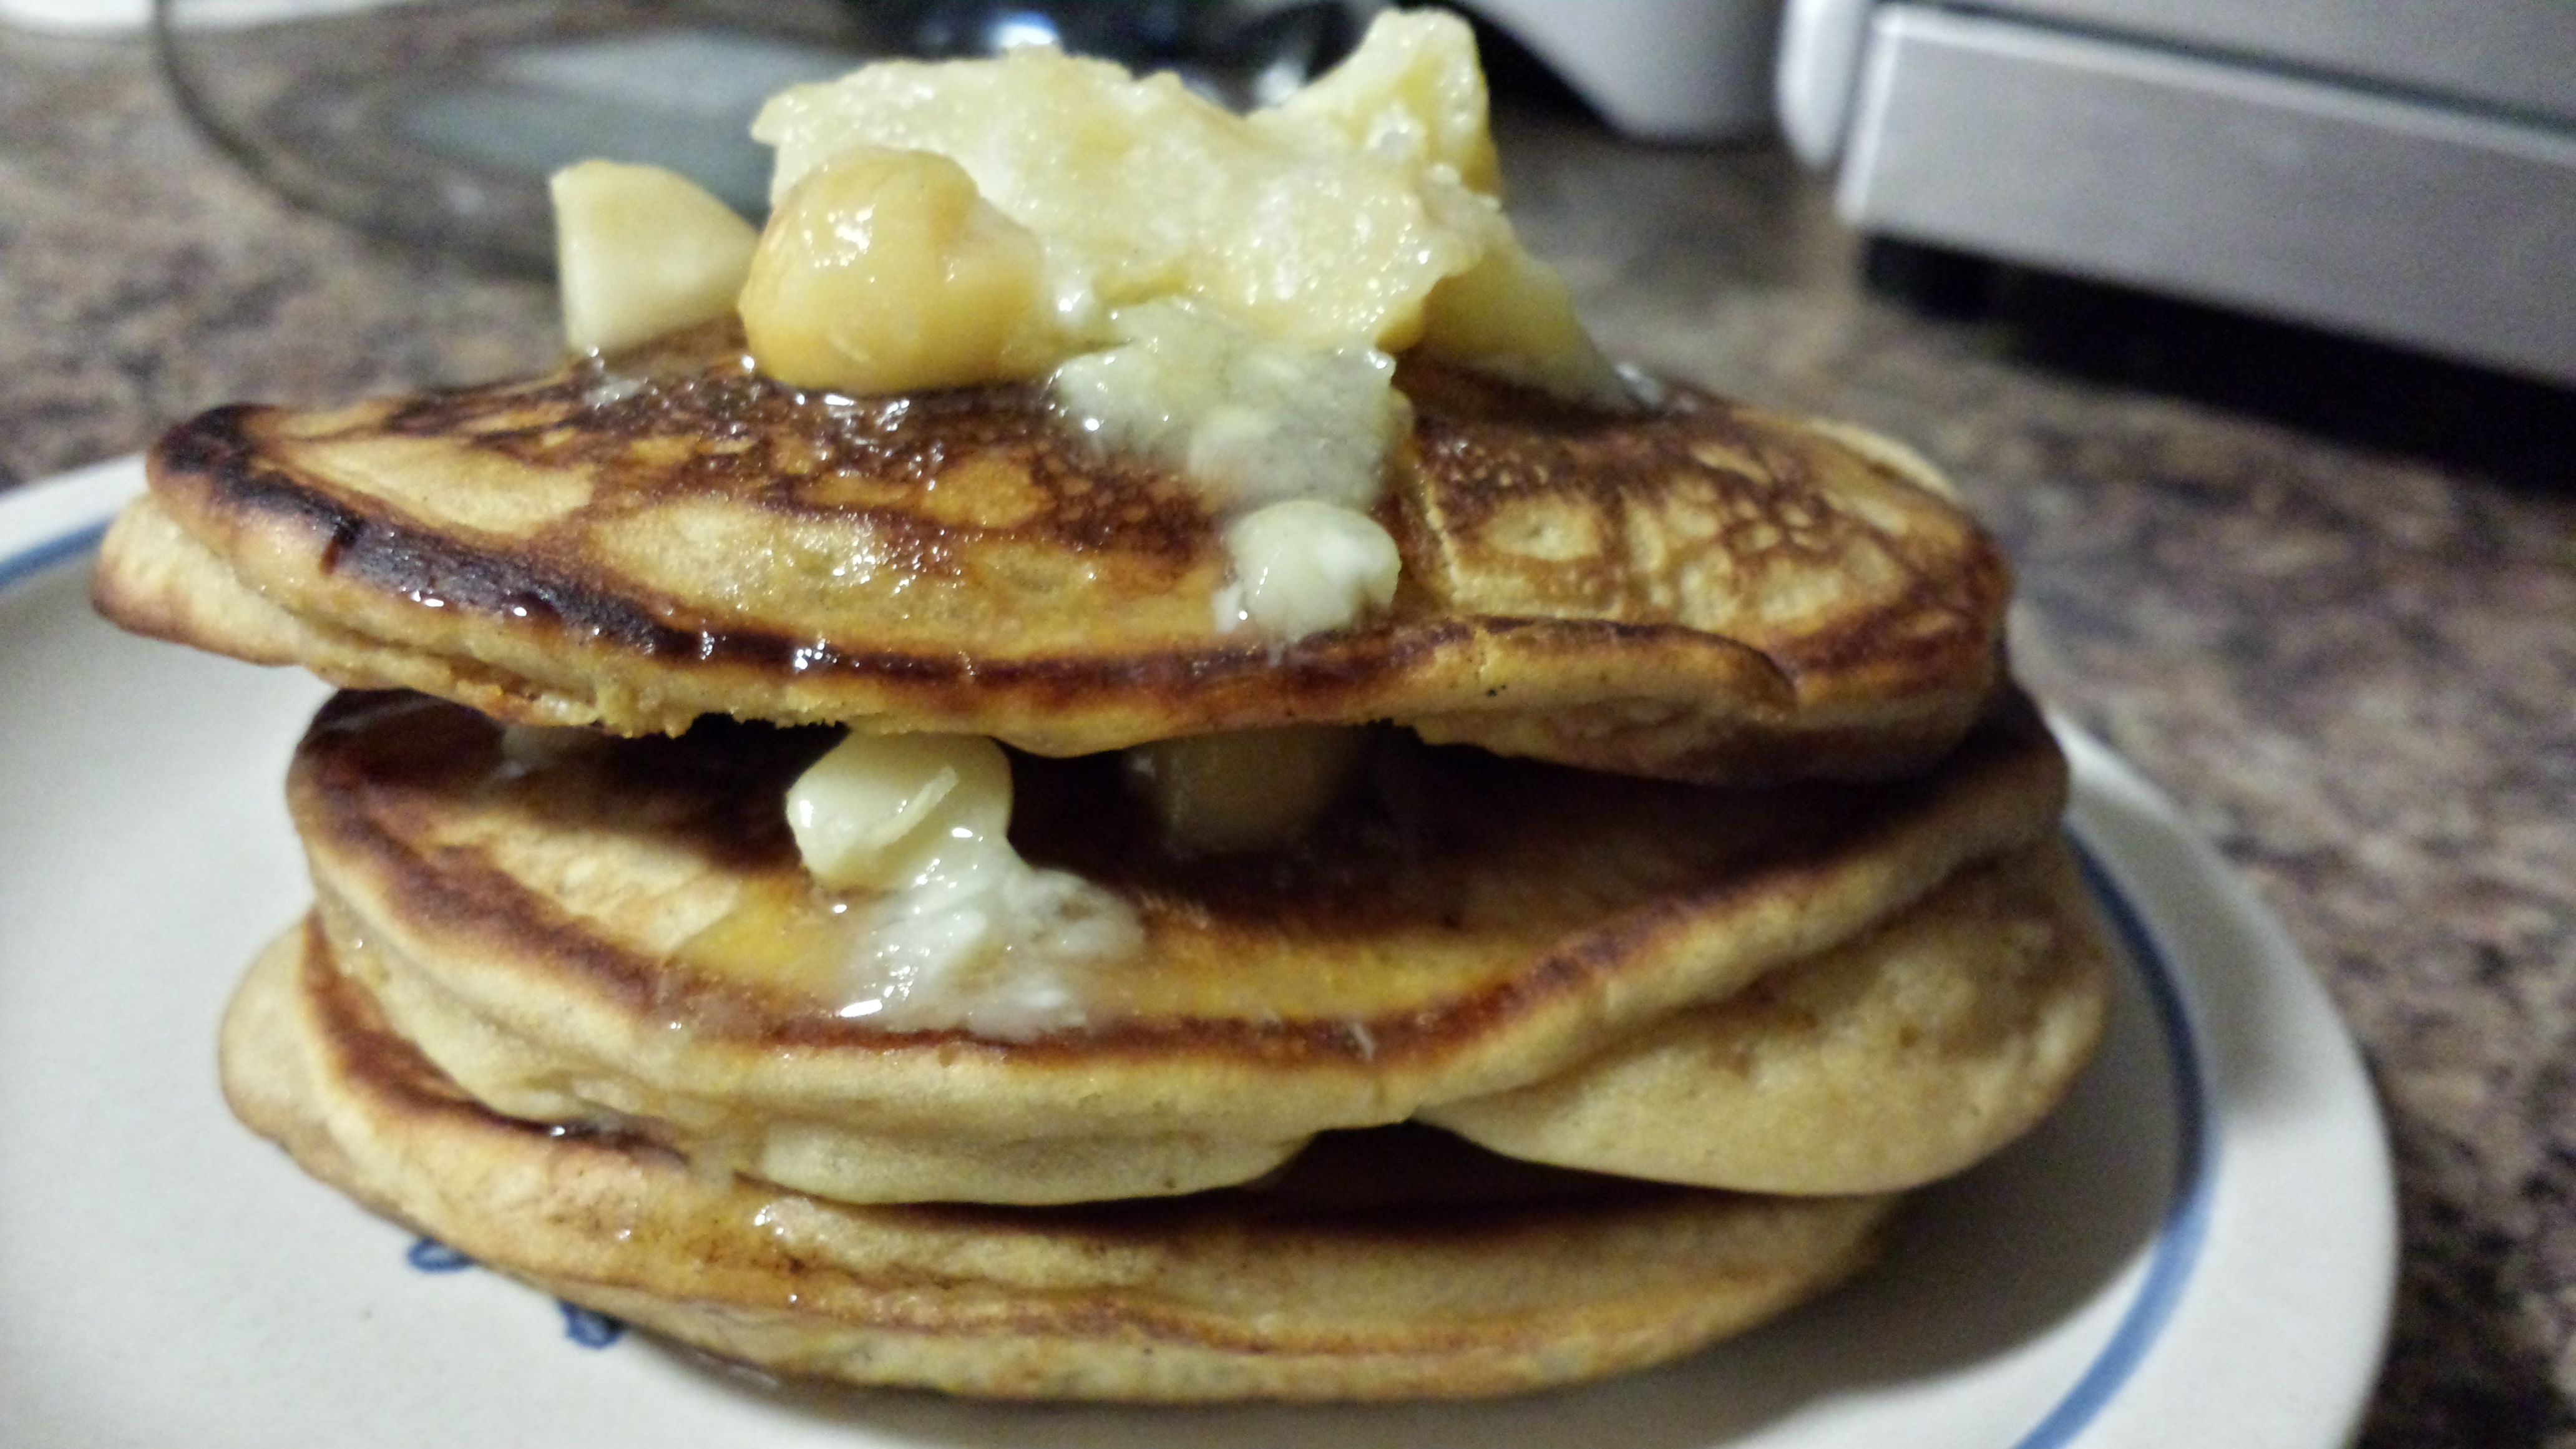
Can you see that consistency! It’s like smooth clouds of buttery, oniony, comforting goodness. The bad news is, besides the fact that these potatoes are unbelievably rich (aka not good for you), they are also very filling, so you can’t scoop a pile of this on the plate. I couldn’t even finish my portion – regardless of how hard I tried!

Now that the potatoes are done, keep them warm while you prepare the piéce de résistance!

20140222_165154

SCALLOPS!

This was very simple. I warmed up a medium saute pan with about two tablespoons of olive oil. I didn’t use the butter as suggested, because I felt it wouldn’t add anything to the dish, and I was priding myself on making one semi-healthy decision with this dish.

Season the scallops on both sides with salt and pepper. I found it took about 3-4 minutes per side. You want to have a nice crust on them. When the scallops easily lift from the pan, it’s time to flip them. You can very easily overcook scallops, so keep an eye on them.

Cooking up nicely!

Cooking up nicely!

I cooked the scallops in batches of five. While these cooked, I also prepared the spinach that I made in place of the arugula salad. This was another simple addition.

In a large saute pan, add about a tablespoon of olive oil, a clove of finely minced garlic, and one 1-pound bag of spinach. It shrinks down to nothing, so don’t worry if it doesn’t all fit in the pan right away. Set the pan to medium-high heat and stir frequently. Once the spinach has wilted, add salt and pepper. I also added the zest of a lemon to the spinach. The bright freshness complemented the richness of the other ingredients nicely.

Now it’s time to plate the lovely dish.

20140222_171520

With a large spoon, scoop up at 1/4 cup of the potato-leek mixture. Place the scoop in the middle of the plate, then with the back of the spoon, spread the mixture out into an oval shape, just a little wider than the scallops. Then, back one side of the potato mixture with a scoop of spinach, piled higher than the potatoes, almost creating a backdrop. Choose three similar sized scallops and nestle into the potatoes. Last, dip a teaspoon into the sherry reduction, and let the reduction drip over the scallops, over the potatoes, and a little in front of the scallops. Using the teaspoon ensures that you want add too much sherry.

20140222_171538 (1)

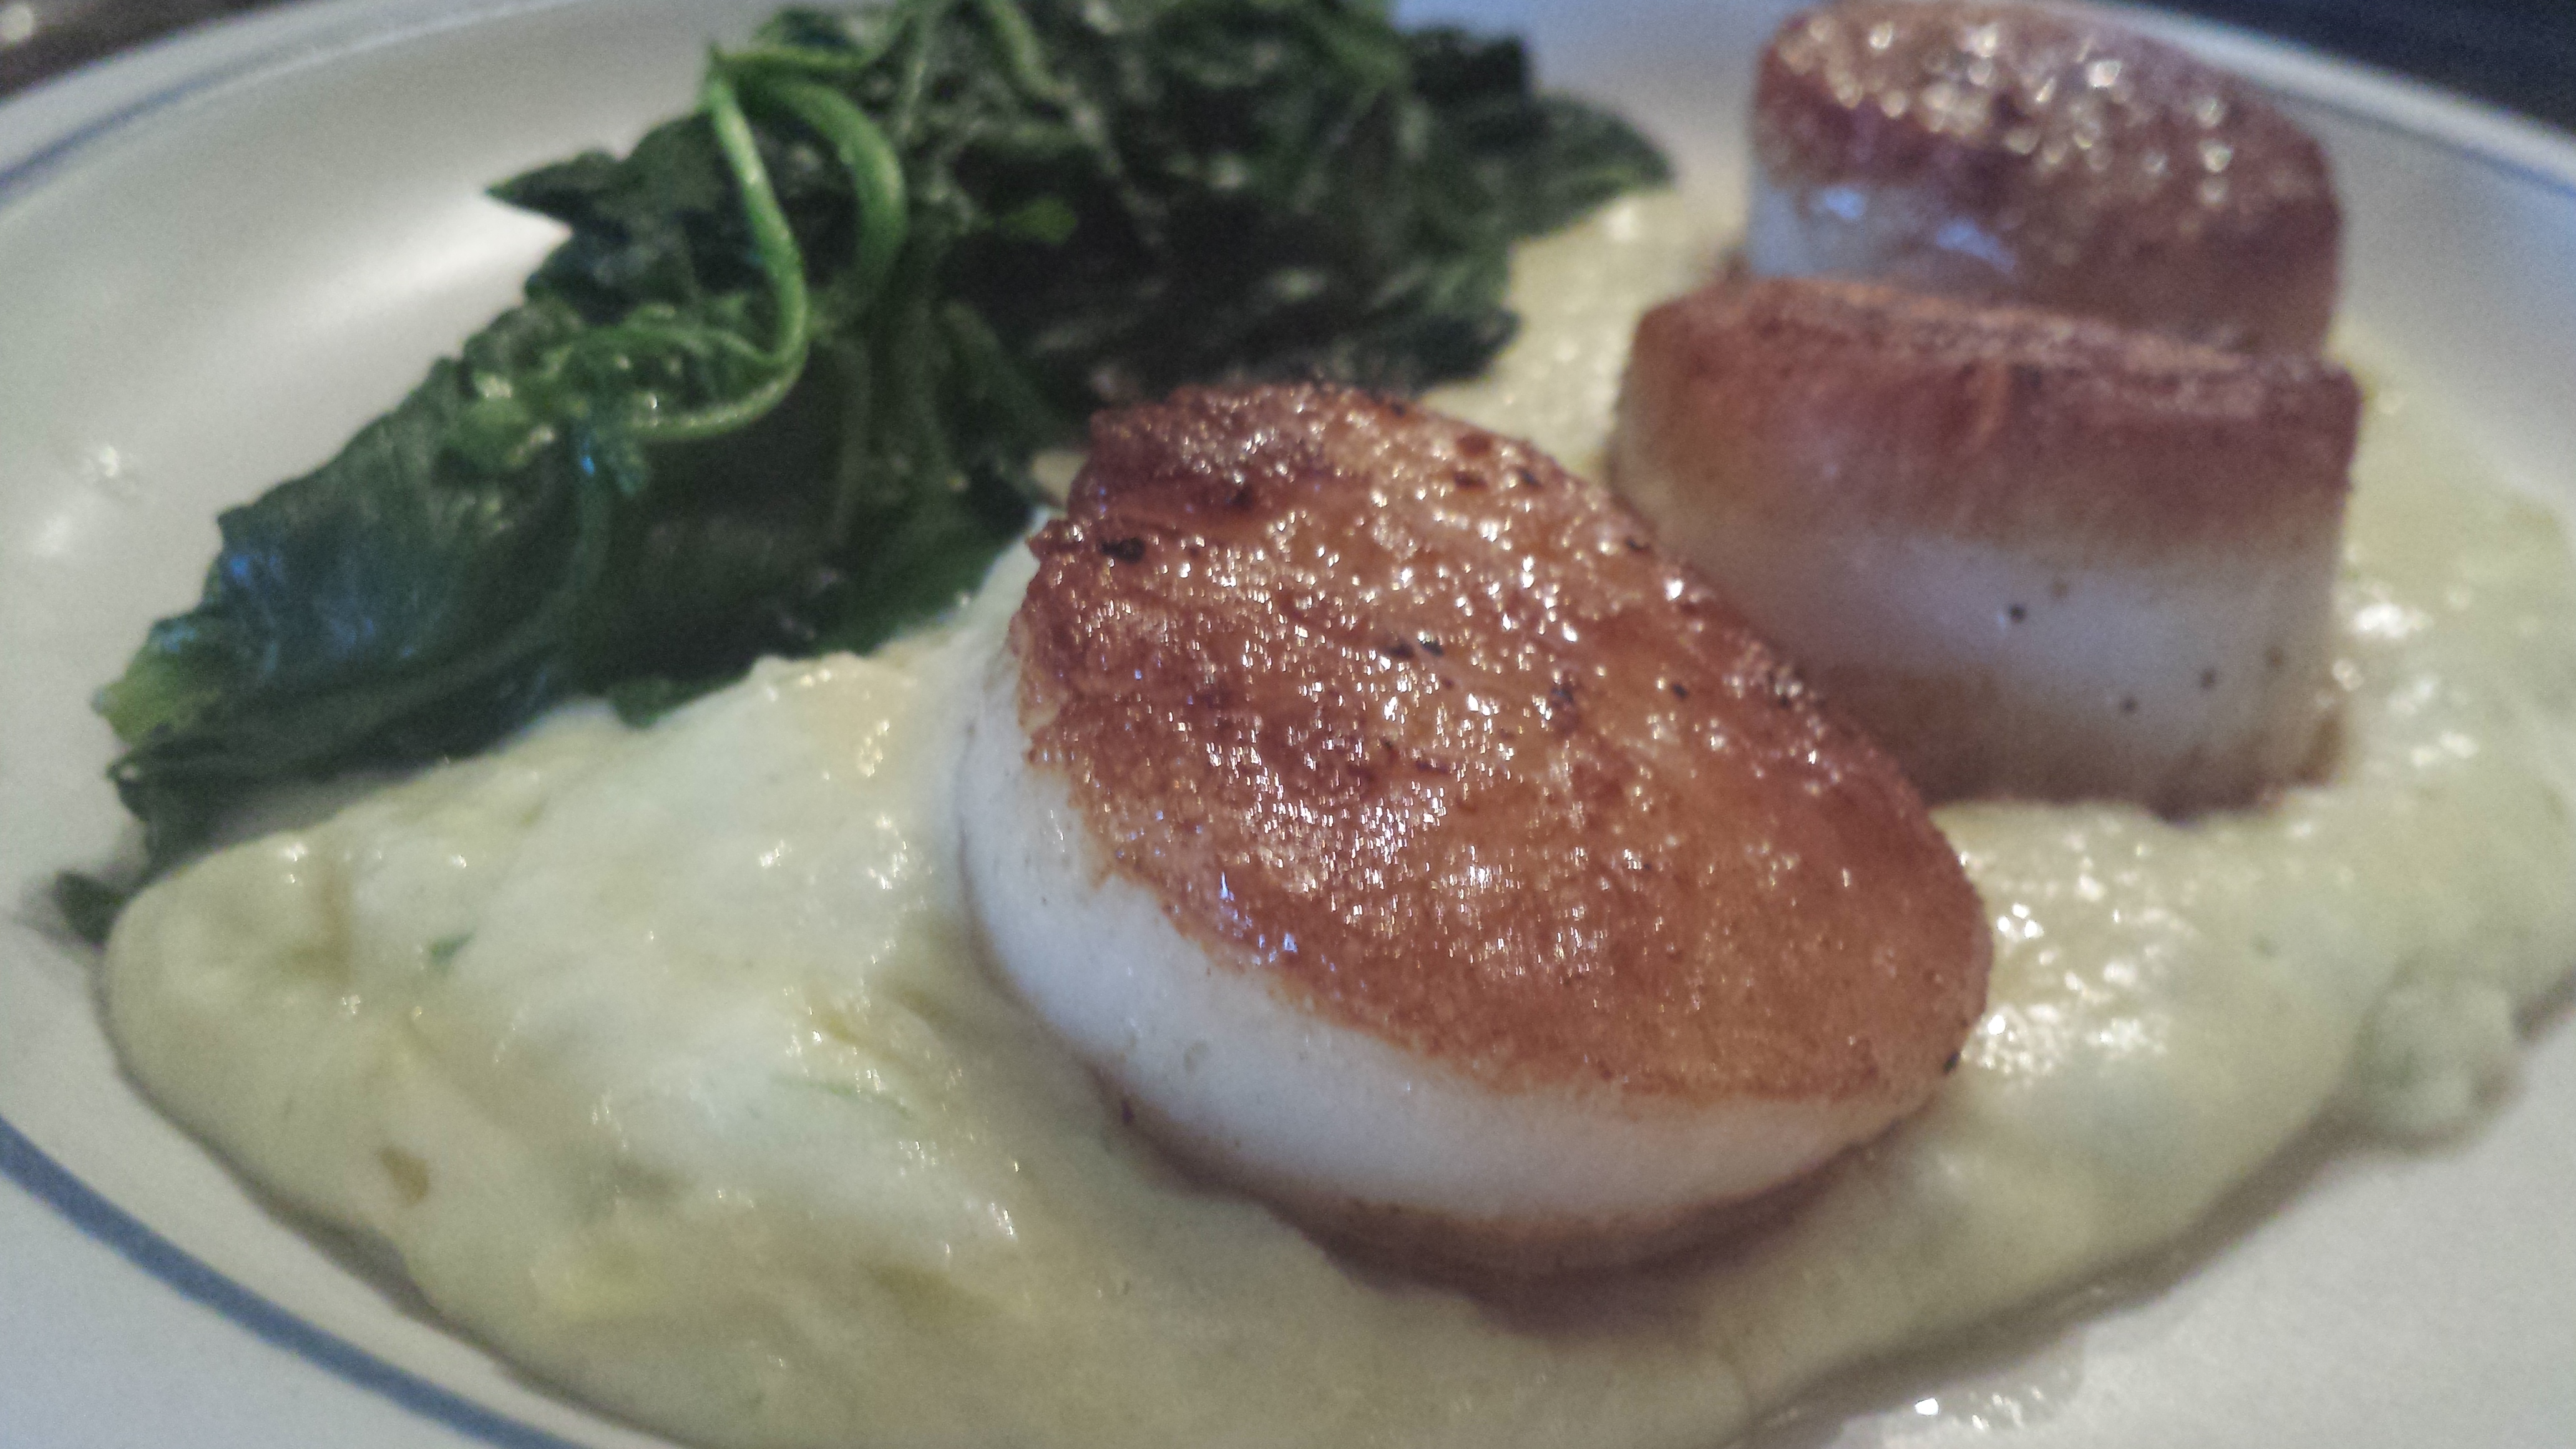
Is that not beautiful?! I hope you enjoy making this meal for someone special!

Original recipe came from allears.net, and is listed below:

Ingredients:

3 Yukon gold potatoes
1 pound butter
1 1/2 cups heavy cream
4 leeks
Salt & pepper for seasoning
12 scallops
4 tablespoons Canola oil
2 cups sherry
1/2 cup arugula
6 tablespoons olive oil
1 tablespoon lemon juice

Method of Preparation:

Creamed Leek Potatoes 
Peel 3 Yukon potatoes and cut them into one inch cubes. Place them in a large pot of cold water and bring to a boil. In a separate pan, melt 1/2 lb. butter in 1 1/2 cups heavy cream. Separately, julienne the whites of 4 leeks and sweat them in 2 tbs. of butter and 2 tbs. of olive oil until tender.

When potatoes are fork tender, strain them out of the water. Place the potatoes in a large mixing bowl and with a hand blender begin to whip while slowly adding the cream and butter mixture until completely incorporated. Stir in leeks and season with salt and pepper to taste.

Scallops 
Take the scallops out of the fridge 30 minutes before you are ready to cook them. Season them on both sides with salt and pepper. Heat a large pan on the stove and add 4 tbs. of canola oil and 2 tbs. of butter. When the butter is melted put the scallops in the pan to sear, cook for 2 minutes on each side.

Sherry Sauce 
Place 2 cups of sherry in a small sauce pot on medium heat, reduce until just under a half cup is remaining.

Arugula Salad Garnish 
Toss ½ cup of arugula into a bowl and drizzle with 2 tbs. of olive oil, 1 tbs. of lemon juice and a pinch of salt and pepper.

Presentation:
To plate this dish, place a spoonful of creamed leek potatoes down on the plate and drag the spoon toward yourself. Place the seared scallops directly down the middle of the potatoes. Take the tossed arugula and place small bunches on top of each scallop.

Drizzle the reduced sherry across the dish.

Caribbean Pasta

I found this at allears.net, where they have a bunch of recipes from the parks. This is a rich, hearty pasta meal that is ridiculously simple to make, but looks and tastes like it took hours to prepare! In other words, it’s my favorite type of recipe. I made some adjustments to the original, and after I tried to meal, I have a couple of other suggestions.

This was my first time using the ingredient chorizo. I you have never tried it, it’s almost like kielbasa, but it’s a little spicy and drier. It’s really tasty and leaves a cleaner taste than other sausage-type meats since it isn’t greasy. I can see myself using it in many other dishes!
Okay, let’s get to it!

This recipe can be enjoyed at Shutters at the Caribbean Beach Resort.

This recipe can be enjoyed at Shutters at the Caribbean Beach Resort.

You know a meal is going to be good when the recipe calls for wine. I’m not by any means a Sommelier, and most times I am happy to be drinking a glass of white or red that comes from a $10 bottle. But I DO know an expert rule of thumb to follow when cooking with wine: Choose a wine that you would enjoy drinking.So true! This is what I used:

20140221_163739_Richtone(HDR)

Pour yourself a glass and make sure you like it. 😉

Set a large pot filled with water to boil. The recommended pasta to be used in this dish is called orechiette, and it’s the cutest pasta I have ever cooked with! They look like little sombreros and that makes me smile.

How adorably fun are these!

How adorably fun are these!

I used half a pound of pasta for the dish. The recipe from the website uses the measurement of ounces for all ingredients, so I winged it as I went along. My measurements will feed a family of four easily. Depending on the appetites, you may have some yummy leftovers for lunch the next day, and that is never a bad thing!

20140221_163958_Richtone(HDR)

While the water is warming up, get your vegetables ready. I sliced one red pepper and one green pepper in 1/2″ strips, then cut the strips in half. I also diced one small onion. Get the vegetables into a warm saute pan (medium-high heat) coated with about 2 tablespoons of olive oil.

20140221_164910_Richtone(HDR)

This appears to be the beginning of an upscale peppers-and-onions dish. To be honest, I did not enjoy having the green pepper in the dish. The bold green pepper didn’t play well with the other flavors. I would suggest either using two sweet red peppers or even a red and orange pepper. The sweetness was needed in this dish to complement the spicy chorizo and the heaviness of the cream. Also something to note; I opted to leave out the jalapeno in this dish because my family doesn’t do spicy very well. If I had kept that ingredient, perhaps the green pepper would have gone with the dish better. The best thing about cooking is that you can always customize the meal to fit what you like!

Now, let’s slice up the chorizo!

20140221_165159_Richtone(HDR)

While the vegetables are cooking, slice up a pound of chorizo into 1/2″ – 1″ slices. I like to cut the meat on an angle, but I can’t tell you why. I’ve always seen chefs on TV doing it, and I figure they must have a reason for it. Plus it does look fancier than cutting them into rounds, so the little extra step makes the presentation more appealing, therefore making it necessary. 🙂

Once the vegetables have been cooking for about 5-7 minutes and are becoming tender, add the chorizo to the pan. Raise the temperature to high to get the meat caramelizing. You want to have a nice crust on the outside of the meat. At this point, your water should be boiling. Add the pasta and cook for about 20 minutes or until the pasta is al dente.

20140221_171537

Cook the vegetables and chorizo together for about 7-10 minutes, or until the vegetables are tender and the meat is slightly browned. Now turn the heat down to medium, and add the wine. I used two good splashed of wine, about 4 tablespoons. The wine will work to deglaze the pan. Once you add the wine, take a small whisk or spoon and mix the wine around to pick up all the small bits on the bottom of the pan. Those cooked bits of vegetable and chorizo hold a ton of flavor, so make sure to get them all released from the pan!

See how the meat and vegetables have developed a darker crust.

See how the meat and vegetables have developed a darker crust.

Let the wine cook out for about 2-3 minutes. Now it’s time to add the finishing touches.

I sliced up two medium tomatoes, and added that to the pan along with a 1/2 pound of baby spinach. It’s important to let the tomatoes cook for about 5 minutes before adding the heavy cream and pasta. The sauce is very light, so you need to juices from the tomatoes to cook out or else your dish could be dry. Next time, I might try a large beefsteak tomato for extra juiciness. Once the tomatoes are soft, add 1/4 cup of heavy cream and the cooked orechiette pasta.

Oooh, it's coming together nicely!

Oooh, it’s coming together nicely!

Turn the heat down to low and let the dish simmer for about ten minutes, just long enough for the pasta to soak up some of the flavor. After the dish has simmered, it’s time for my favorite part. I crumbled a 4 ounce log of goat cheese over the top of the dish. The goat cheese adds such a creamy texture against the meatiness of the chorizo and peppers, but also adds a tangy brightness to complement the heavy cream and wine sauce.The crumbled cheese nests inside the bowl-shaped pasta and pops in your mouth. I guess what I’m trying to say is, don’t skip the goat cheese in this recipe!

20140221_173135

And voila! Is that not the prettiest one-pot dish you’ve ever seen? Like I said, the dish was so simple to make and so easily customized that you need to do yourself a favor and try this dish!

Click here for the original recipe (also listed below):

Ingredients:
1 ounce Red Peppers
1 ounce Green Peppers
1 ounce Diced onions
1/4 ounce Jalapenos
2 ounce Heavy cream
1 ounce White wine
1 ounce Tomatoes
4 ounces Chorizo Sausage
¼ ounce Cooking oil
.25 ounces Goat cheese (per serving)
1 ounce Spinach
4 ounces Cooked Orechiette Pasta

Add ons:
6 pieces Shrimp
5 ounces Chicken Breast

Method of Preparation:
1. In large pan, bring water to a boil and add 4 ounces of Orechiette Pasta
2. Cut vegetables (small diced red, green, and jalapenos peppers, and onions) (medium diced
tomatoes and Chorizo sausage)
3. In hot sauté pan, add oil, onions, peppers (red, green and jalapenos) and cook until tender
4. Add Chorizo sausage and any other add-ons you would like to have
5. Deglaze with white wine
6. Add heavy cream and add pasta, tomatoes, and spinach
7. Sprinkle goat cheese on each serving


Challah French Toast

This recipe came from allears.net‘s website. They have a ton of recipes listed from the WDW parks and hotels, as well as other events. This recipe can be enjoyed at Chef Mickey’s at the Contemporary Resort.

This simple recipe is unbelievable tasty! My favorite breakfast food of all time, hands down, is french toast. Growing up, I used to just dip white bread into a bowl of eggs and milk. Then I was introduced to the wonder of challah bread, and it transformed my love of french toast into a near obsession. If you haven’t ever tried challah bread, I highly suggest making this recipe. But be prepared, you will want to make this delicious “Sunday breakfast” every day of the week!

The beautiful Challah bread!

The beautiful Challah bread!

One of my passions is cooking, so combining that along with my love of Disney, making these meals and sharing them with you all makes me very happy! I will admit, as an amateur cook, I am always looking to tweak recipes a tad. This recipe stayed the same, but I would suggest making a tasty fruit “jam” to go along with the french toast. It’s simple, and I will include my favorite accompaniment below, along with the original recipe.

ft18

To begin, gather all your ingredients. In a large mixing bowl, combine the sugar, eggs, vanilla, cinnamon, and milk.Whisk thoroughly and set aside.

Buttery golden bread, yum!

Buttery golden bread, yum!

Next, slice up the bread into about 1″ slices. They should be decent slices to hold the liquid mixture without falling apart. I find it’s easier to cut through the challah bread with a serrated knife, when the bread is upside down. It’s easier to make more even cuts when looking at a flat surface, and since the top of the bread is bumpy, I turn it upside down. It’s not a science, but it has proven helpful. 🙂

ft-

Now, pour the wet mixture over the bread. Reserve about 1/3 of the mixture. To make sure that the bread is evenly coated, I pour some mixture into the bottom of the pan before I place the sliced bread inside. Then, I drizzle most of the remaining mixture over the top of the bread, making sure to separate the pieces and get the liquid between them. I let the bread sit like that while I heat up the griddle. Once the griddle in warm enough to begin melting the butter, I turn the bread over and add the reserved mixture to any missed spots. Let the bread sit until the griddle is very warm.

Crispy, golden brown on the outside. Warm and soft on the inside.

Crispy, golden brown on the outside. Warm and soft on the inside.

You want the griddle to be  pretty hot so that the french toast develops the crust on the outside. Once you place the toast down, leave it alone. You’ll know when it’s ready to flip when the bread lifts easily with a spatula. It could take 5-7 minutes per side. Remember, the second side tends to cook faster!

Side note: Due to the shape of the challah bread, you’ll end up with small “ends” at the heal of the loaf. I don’t like to add the ends with the sliced bread because when you are adding the liquid, the ends can become very mushy. So, what I do is keep them aside, and once all of the soaked bread is on the griddle being cooked, I then add the ends to the dish with the left over liquid. This way they soak up the mixture on the bottom without falling apart. The unofficial rule with the ends is that the chef gets to eat them 🙂

The Chef's Ends

The Chef’s Ends

As the warm bread comes off of the griddle, place the cooked french toast onto a wire rack with a baking sheet underneath. You don’t want to put the hot bread onto a plate, because the heat will cause the bottom to get soggy, and eliminate that yummy, buttery crust you worked so hard to develop! It would be a breakfast tragedy.

The masterpiece!

The masterpiece!

Behold, the French Toast masterpiece! All you need to do now is sprinkle some powdered sugar over the top and enjoy! But this Diva doesn’t stop there.

Patience, Pooh Bear, patience...

Patience, Pooh Bear, patience…

You could warm up some maple syrup, but I really like to enjoy my French Toast with some macerated berries. It’s unbelievably simple, but it adds an elegant and special touch to this breakfast.

All you need to do is choose which berry you would like to serve. I usually go with raspberries, but strawberries or blackberries work well too. Clean the fruit, slice them up so that they are chunky, and add them to a bowl with sugar. The typical rule of thumb is two tablespoons of sugar per pound of berries, but the important thing is to make sure the berries are evenly coated in the sugar. I mix this up before I even begin the french toast, because you want to set aside the berries for at least 30 minutes. The sugar draws out the liquid in the fruit, and makes a simple sauce while softening the berries. Once the french toast is done, the berries should be ready to mash. You can use the back of a fork to mash the berries, leaving some pieces so that the consistency is a bit thicker then a jam.

Whatever you decide, I’m sure that you are going to enjoy this dish! Have fun! 🙂

Challah French Toast Recipe:

Yield: 4-6 servings

Ingredients:

6 extra large whole eggs
1 ½ cups of milk
1 teaspoon of vanilla extract
¼ teaspoon of ground cinnamon
½ cup of granulated sugar
8 to 10 one inch slices of challah bread (you can substitute brioche bread or Hawaiian bread)
1 – 2 tablespoons of butter (margarine)

Method of Preparation:
1. Gather all ingredients (mise en place).

2. Crack eggs into medium size bowl, add milk & vanilla. Wisk together with a fork or wire whip. Add the sugar and cinnamon mix all ingredients are incorporated. Set aside.

3. Slice challah bread into 1″ slices. Set aside.

4. Pre-heat flat grill or frying pan on medium heat (Teflon coated works best). Cover bottom of pan / grill with butter.

5. Dip bread into the egg mixture, place in pan/grill cook under golden brown on each side.

6. Remove from heat, plate up French toast and dust with the confectioners sugar.


Mom’s Meatloaf

I found this recipe at allears.net, where they have collected tons of recipes from Disney parks. This recipe if for Mom’s Meatloaf, and can be found at one of the most fun restaurants in Hollywood Studios – 50’s Prime Time Cafe!

50's prime time cafe

If you’ve never been to the 50’s Prime Time Cafe, I strongly recommend you try it out. The decor is amazing, as if you are really sitting at your Mom’s kitchen table back in the 1950’s. The servers are sassy, and once scolded my brother for not eating his vegetables! It’s a lot of fun and the food is tasty, good-old American meals! 

*This very simple recipe can be made with ground turkey as well, for a healthier option.

Start by dicing the onions and peppers. I added a diced clove of garlic to my recipe as well, because my Italian roots doesn’t allow me to add onions to any recipe without its buddy. Add the meats to a large mixing bowl, along with the diced vegetables and remaining meatloaf ingredients.

Step 1 is done!

Step 1 is done!

Next, it’s time to get messy! This is when I would normally call my little sister in. For some reason, she always enjoyed mixing things with her hands. On a side note, if you did freeze the meat previously, make sure it’s room temperature before you mix it. Not only will the extra moisture cancel out some flavor, but you’re hands will thank you for not dipping them into an ice block!

All combined and looking good!

All combined and looking good!

Now that everything is all mixed together properly, it’s time to divide the meat mixture into two even portions and add them into loaf pans that have been sprayed with cooking spray. I always cover my meatloaf to keep the heat in so the middle cooks. While this recipe doesn’t call for milk, I promise this is the most moist and tender meatloaf I have ever made! The first time I did use beef, but even when I substituted it with ground turkey, the meatloaf didn’t dry out.

Put the trays on a baking sheet. It makes it easier to remove them from the hot oven.

Put the trays on a baking sheet. It makes it easier to remove them from the hot oven.

While the meatloaf bakes, it’s time to make the yummy glaze. Now, the recipe from all ears might make enough to cover one meatloaf, but I found that by making one large loaf, the outside got very dry while the middle was still raw. So by separating it into two loafs, you will avoid this problem. That being said, you will also have to double the glaze recipe (below). It’s worth it, though. This recipe is rather healthy as a whole!

Add the glaze, uncover the meatloaf and let the glaze set. I kept the fifties theme going and served this meatloaf with mashed potatoes and honey-glazed carrots. So quick and delicious!

The beautiful end result!

The beautiful end result!

This Diva might be a better cook than photographer, but I am working on strengthening my food-photo skills! Enjoy!

INGREDIENTS:

2 lb ground beef
1 lb ground pork
4 eggs
1 cup seasoned bread crumbs
½ cup diced onions
1/4 cup diced green peppers
1/4 cup diced red peppers
2 Tbsp worcestershire sauce
Cracked black pepper to taste
Kosher salt to taste
½ cup Meatloaf Glaze (recipe below)

METHOD:

Dice peppers and onions and set aside for later use. Combine meats and seasonings. Add vegetables. Place meat mixture in oiled loaf pan. Bake at 350º F oven for 1 hour (internal temp 155º).

Brush meatloaf with meatloaf glaze. Bake another 10 minutes. Let meatloaf set 10 minutes, cut loaf and serve.

MEATLOAF GLAZE
INGREDIENTS:

½ cup ketchup
1 Tbsp brown sugar
1 Tsp Dijon mustard
½ Tsp worcestershire sauce

METHOD:

Combine all ingredients until mixture is smooth.

Pancakes with Macadamia Nut Butter

I found this recipe at allears.net where they have a lot of WDW park recipes saved. These sweet little pancakes really complement the macadamia nut butter. It’s a really simple dish, and adding the little extra really changes up your ordinary pancakes.

This recipe can be found at Kona Cafe in the Polynesian Resort.

TIP: Take out a stick of butter before you begin. This way it will be soft enough for the mixture by the time you’re done cooking the pancakes.

Start by sifting the flour into a large mixing bowl. I usually sift the flour and baking powder together to make sure they mix thoroughly. Add the brown sugar and a pinch of salt to the flour mixture. It does seem like a lot of brown sugar, but the pancakes really don’t end up being overly sweet. It isn’t until you add the macadamia butter that the sweetness comes in.

mp1

Now add the eggs, milk, vegetable oil, and vanilla extract to the dry ingredients and beat until smooth. You can use an electric mixture but I just used a sturdy whisk. My batter, at first, was very runny, I think it’s because I used extra-large eggs (which was all I had at home) and it added too much liquid. If that happens, just add more flour until it’s a better consistency.

mp3

Make sure to get the pan hot. I dropped a little butter into the pan to create a good crust on the outside of the pancakes. Because of the brown sugar, the pancakes have a moister middle, almost gooey, so having that harder crust on the outside is necessary or they would be too soft.

mp4

Make little silver dollar sized pancakes. Again you don’t want the middle to get dry and lose that moist center, so the smaller size is better. Once tiny bubbles begin to surface on the top of the pancakes, it’s time to flip them. Each time you add more batter to the pan, make sure to add a little more butter to the pan to keep them from sticking and make that crust on the outside.

mp6

As you can see, this recipe makes for a good amount of pancakes. I got about 18 silver-dollar sized pancakes. When they come off the pan, have a wire rake set upside down on top of a baking sheet to keep the bottom of the pancake from touching anything. It will get soggy if the hot pancake sits on a plate or any surface.

Now that the pancakes are all done, it’s time to make the macadamia nut butter spread. This is really easy. Just quickly toast some macadamia nuts in a saucepan and roughly chop them. I chopped most of them up fine so it would be easier to eat, but I kept a few larger chunks so you could see what was in the butter. Mix the nuts with the softened butter and honey and serve on top of the warm pancakes.

mp5

You can make the butter ahead of time and keep it out while you cook the pancakes so that the butter mixture is soft.

mc4

Now all you have to do is grab a nice cup of coffee and enjoy a quick trip to Polynesia.

mc1

Ingredients:

Pancakes:

1-1/4 cups brown sugar

3 teaspoons baking powder

1/4 teaspoon salt

2-1/4 cups all-purpose flour

1-1/2 cups milk

3 eggs

6 tablespoons vegetable oil

1 teaspoon vanilla extract

Method

Sift flour into medium bowl.  Add brown sugar, baking powder, and salt into medium bowl.

Add eggs, milk, vegetable oil, vanilla extract and beat until smooth.

If using an electric skillet pre-heat to 350 F; pre-heat griddle or skillet on medium until a few drops of water dance on the surface.

For each pancake pour 1/4-cup batter onto skillet and cook on first side until bubbles form and sides look dry, flip over and cook until golden brown

Top with your favorite syrup or macadamia nut butter (below).

Macadamia Nut Butter

One stick butter (at room temperature)

1/4 cup toasted Macadamia nuts

1/4 cup honey

Method:

Combine butter, honey, and toasted Macadamias.

Use a spoonful to top pancakes.